Microsoft SQL server is one of the most popular database management systems in the world which is trusted by thousands of big companies in the world. It is a relational database management system that uses structured query language to perform operations such as insert, update, delete and retrieve.
In this tutorial, we will be seeing how can we install SQL Server 2019 on the windows operating system. So, let’s get started!
Also check – How to Install SQL Server 2017 on Windows
Using SQL Server, You Can-
- Build trendy applications in your preferred language on Windows, Linux, and Docker containers both locally and in the cloud.
- Benefit from cutting-edge scalability, performance, and availability for smart, mission-critical data storage and applications.
- Gain transformative insights for your business with real-time analytics and up to 1M predictions per second.
There are many SQL Server 2019 editions that may be used with Windows and Linux. Installing the Express Edition and Developer Edition is free. Both installations are in a similar procedure.
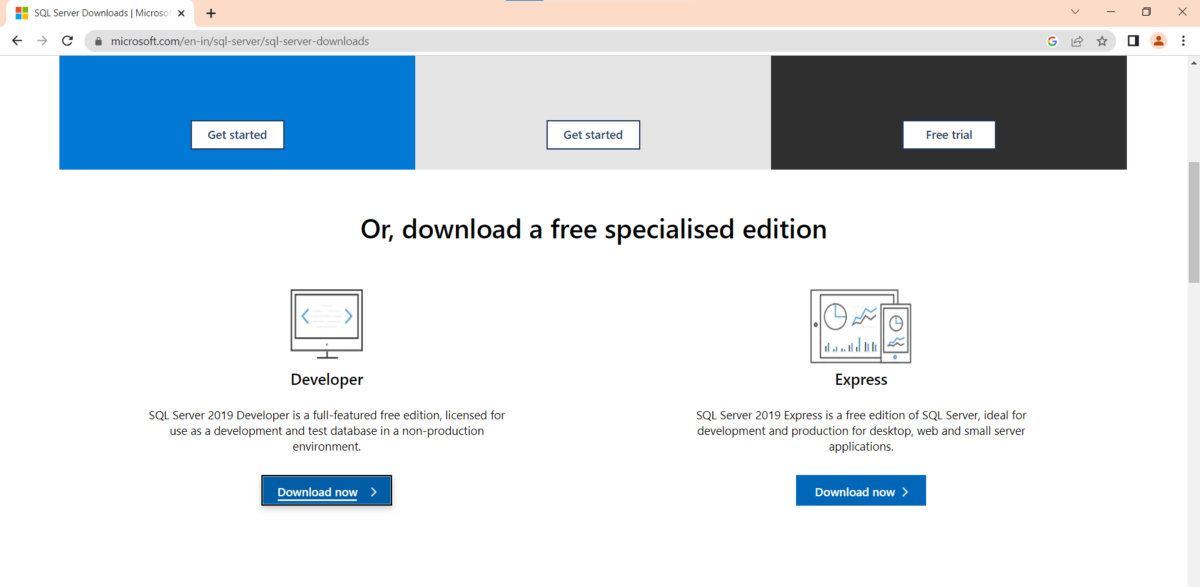
We shall download the Developer Edition for this tutorial because it is free and has many useful features.
It can be downloaded on any current computer running Windows 10, and a minimum of 6GB of hard drive space is needed. Furthermore, a processing speed of 2.0 GHz or higher is advised and requires up to 4GB of memory.
How to Install SQL Server 2019 on Windows OS
The free, full-featured SQL Server 2019 Developer Edition is licensed for use as a development and test database in non-production settings. Follow the steps given below to install the SQL Server installer first and then head towards installing the full setup with the SQL server management studio.
- We must download the installation first.
- Click on this link to download the installer. You may also just enter “SQL Server 2019 Download” into your search engine, go to their website, and you will see the download option. When you click the button, the installer will be downloaded instantly.
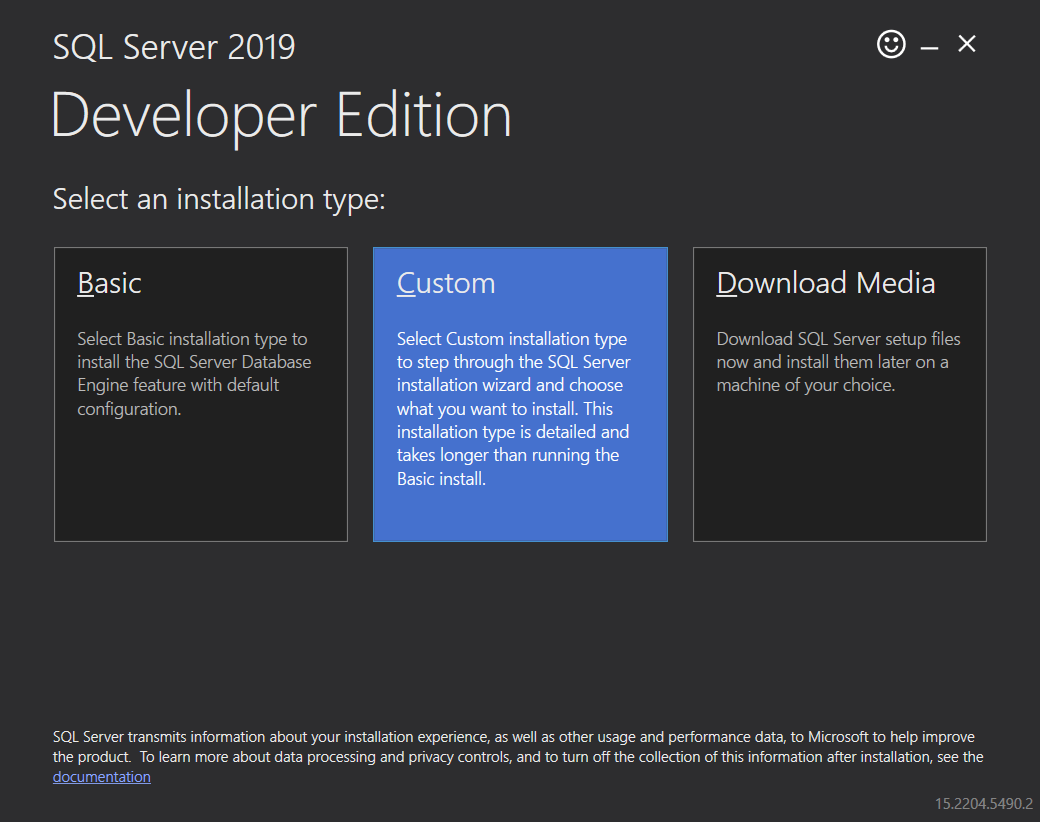
- Run the installed SQL2019-SSEI-Dev.exe file.
- The following screen with three available methods will be displayed. While the basic option comes with every basic function, the custom installation enables you to choose which features to integrate first. Currently, choose custom installation.
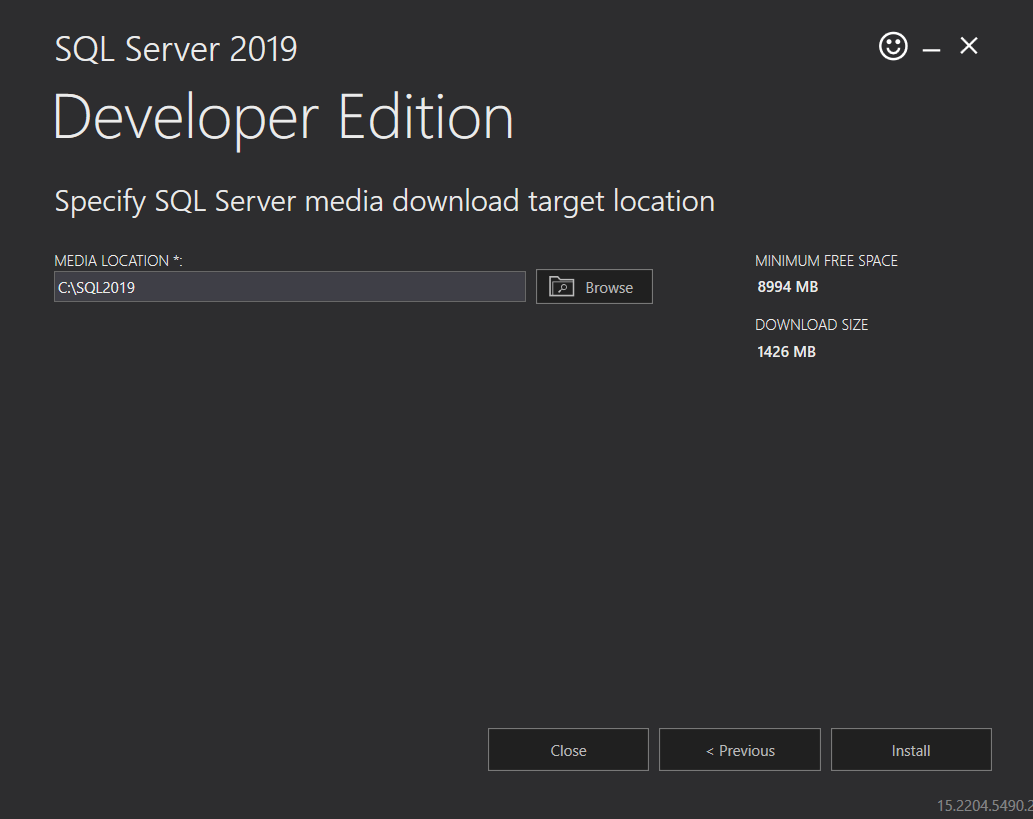
- Specify the directory in which SQL Server will store files downloaded and then click on install. This will take some time to complete.
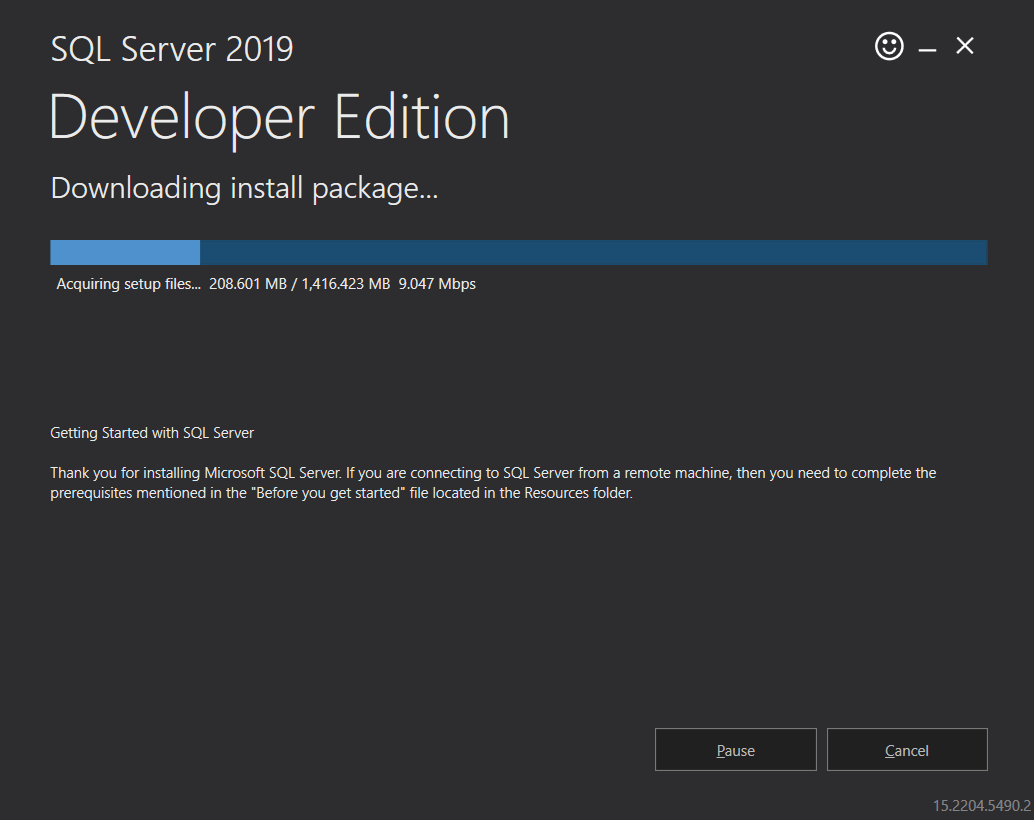
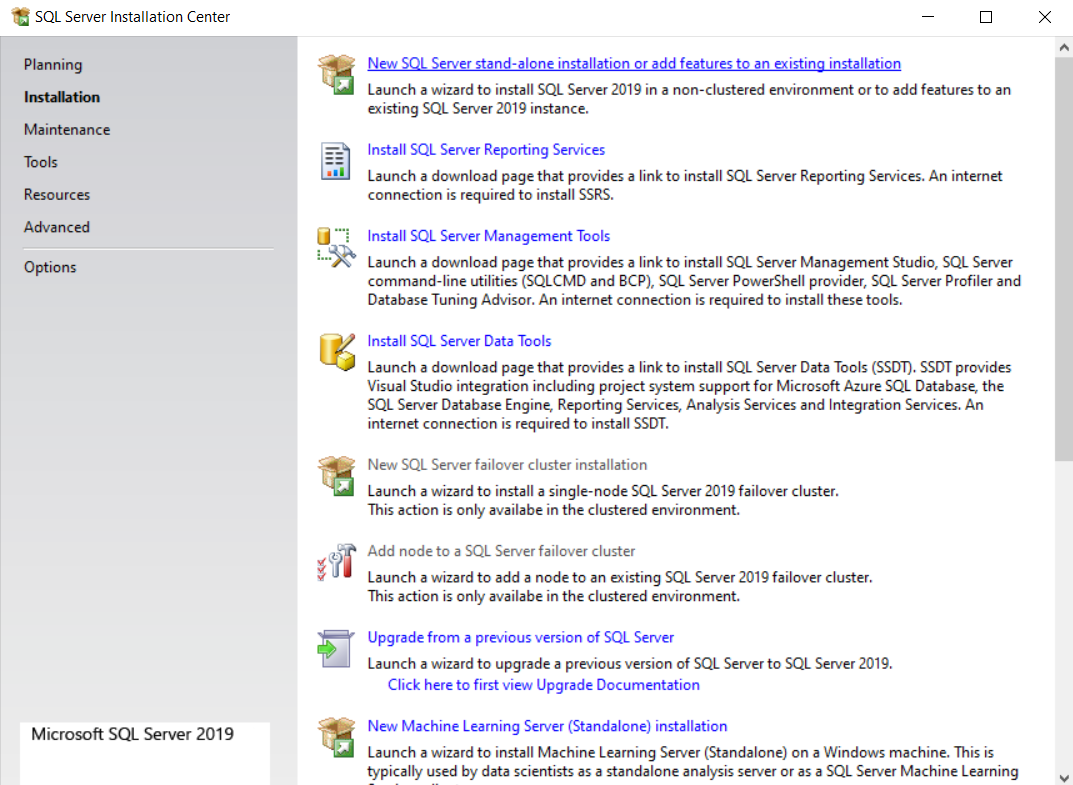
- After the download completes, the following screen shows up. Click Installation. Then choose the first option and proceed.
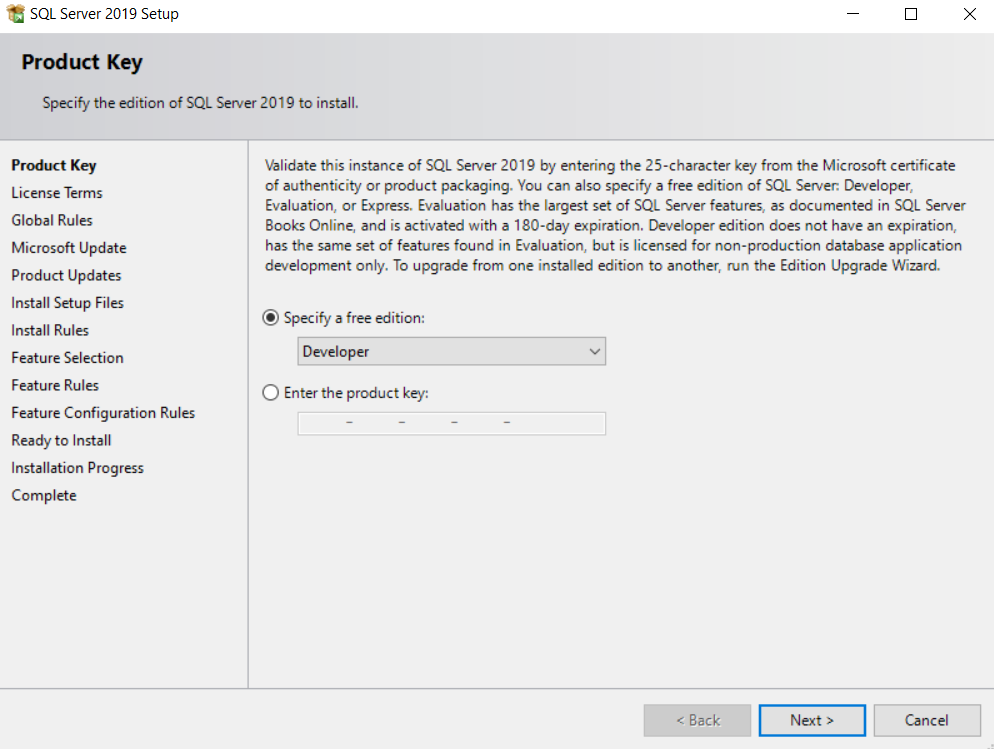
- Specify the edition you want to use. Here we go for Developer Edition as mentioned below.
- Now select accept the license terms and the Privacy Statement and click on the next button.

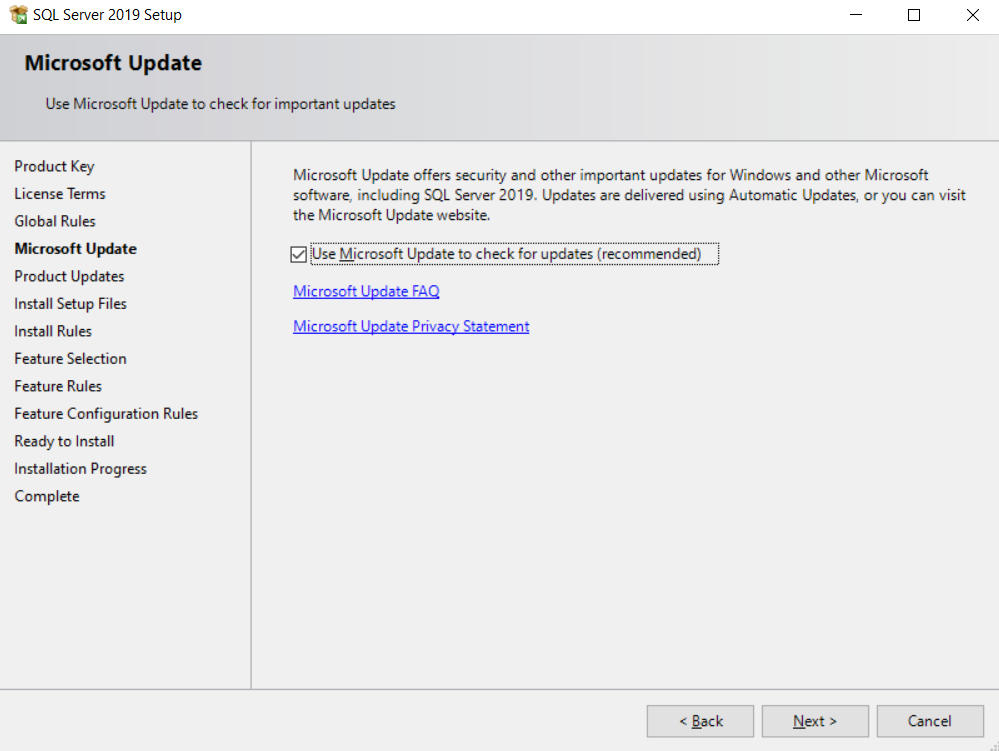
- It is recommended to choose the Microsoft Update check box and then click on Next.
- Now it checks for any issues that may occur while running the setup. Click Next once done.
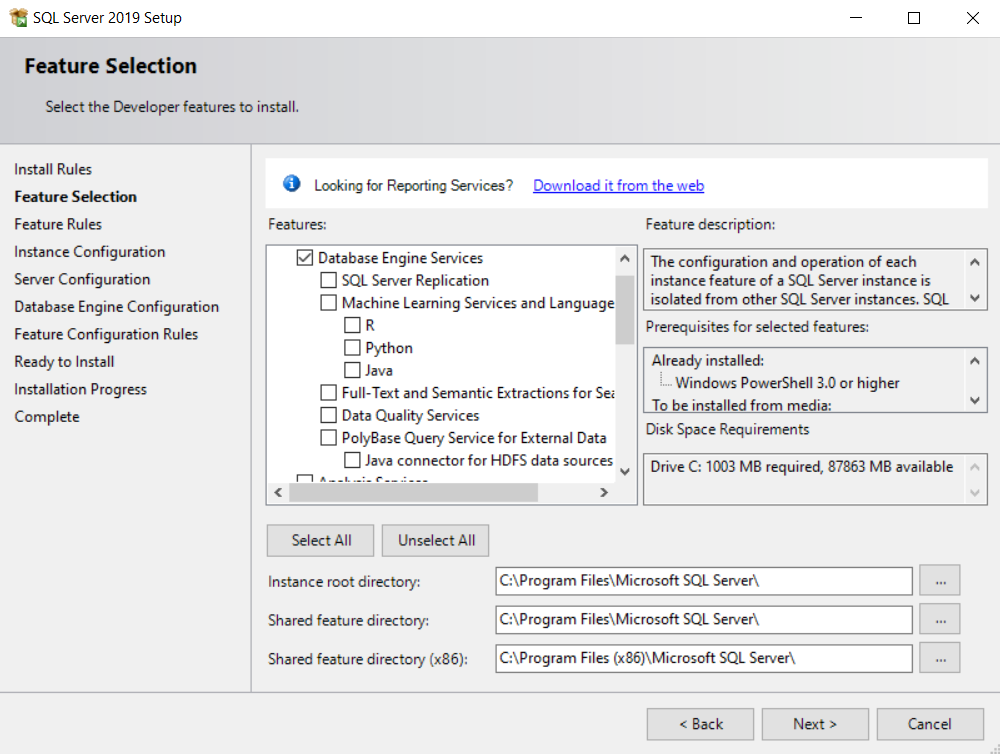
- In the next step, you can select the features you want to be included with your SQL instance.
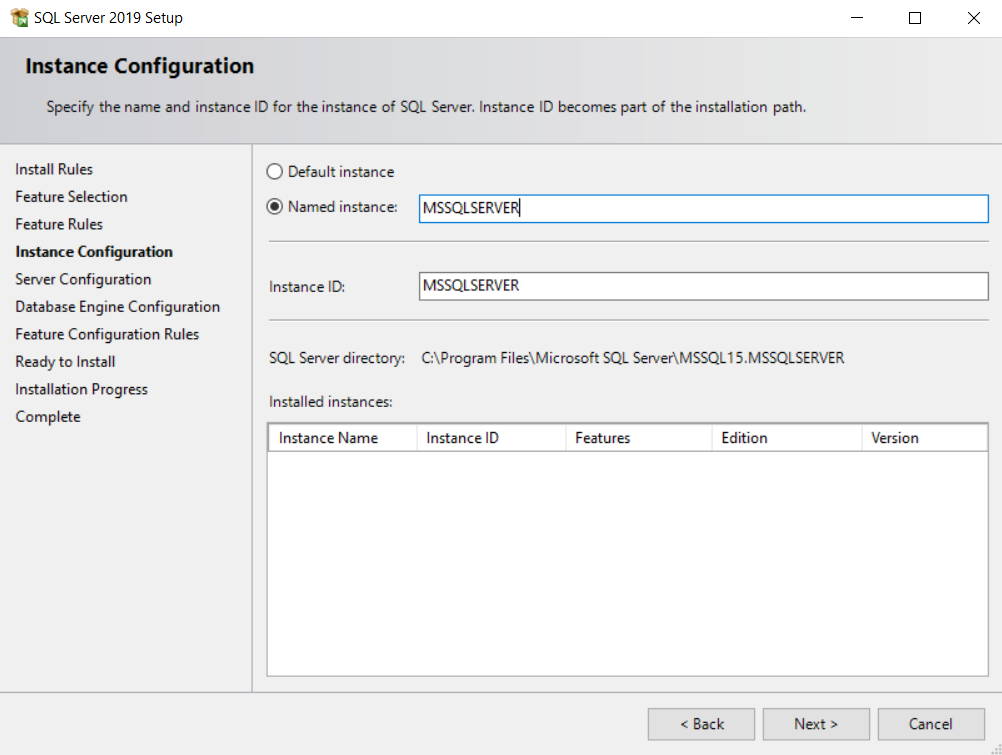
- In this step name your instance and move to next.
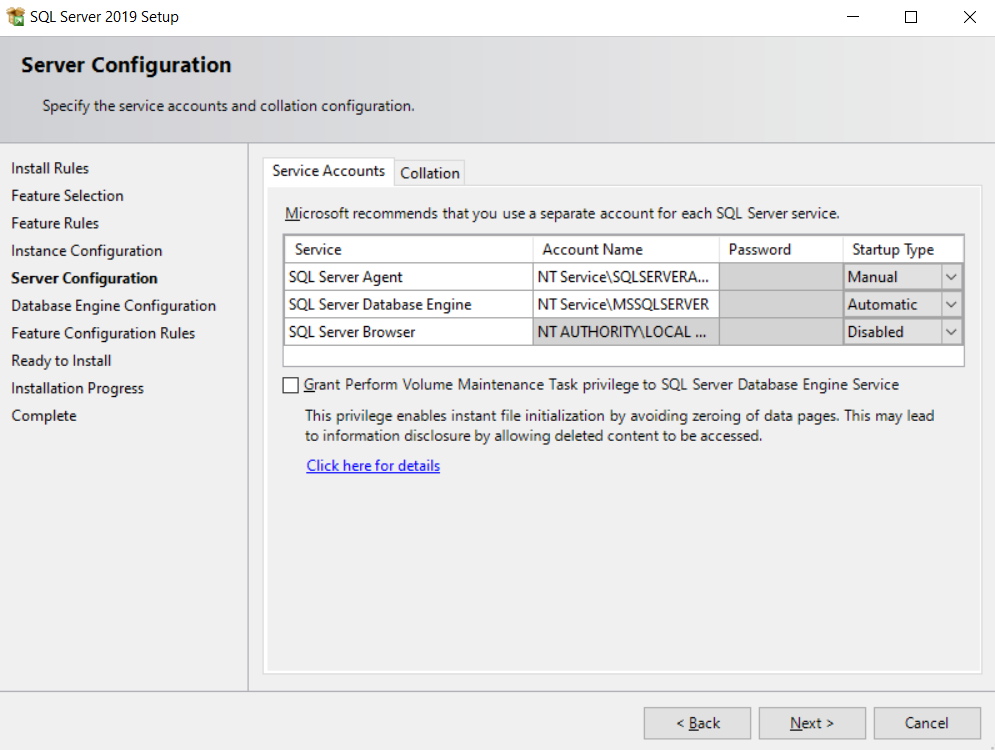
- Next, configure the service accounts in the server configuration window and move to the next.
- In this step, you get to decide the authentication mode you want to use. You can select the Mixed Mode which allows you to set a password for the System Administrator (SA) user.
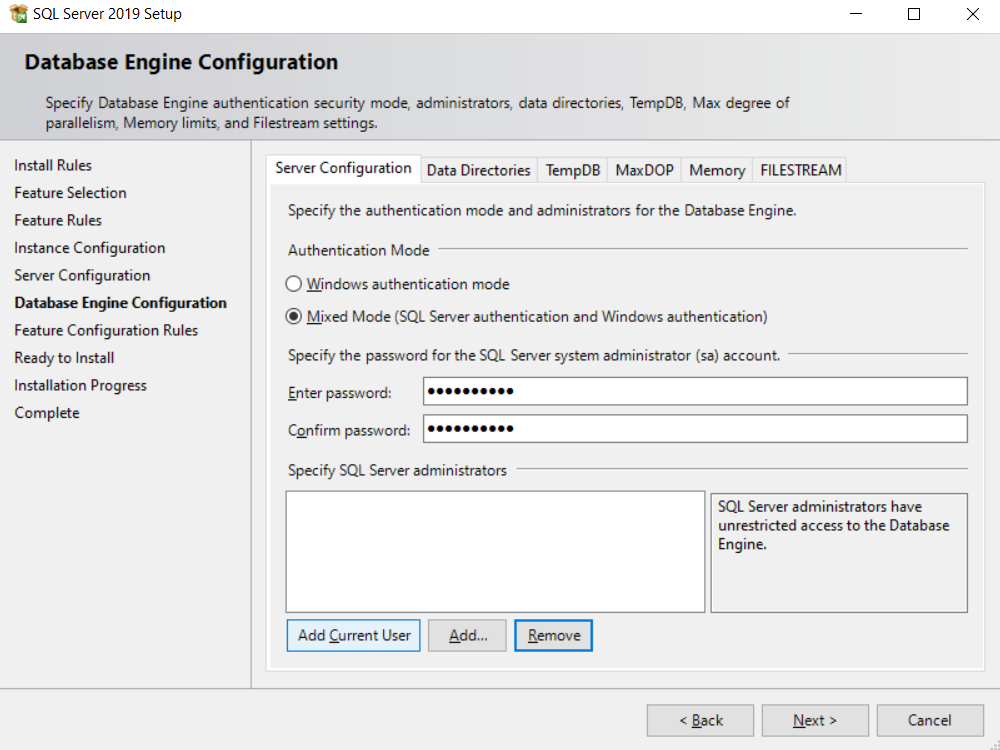
- Next click on Add current user and click on next.
- It next shows you the summary of features you want to install. Check everything and click Install.
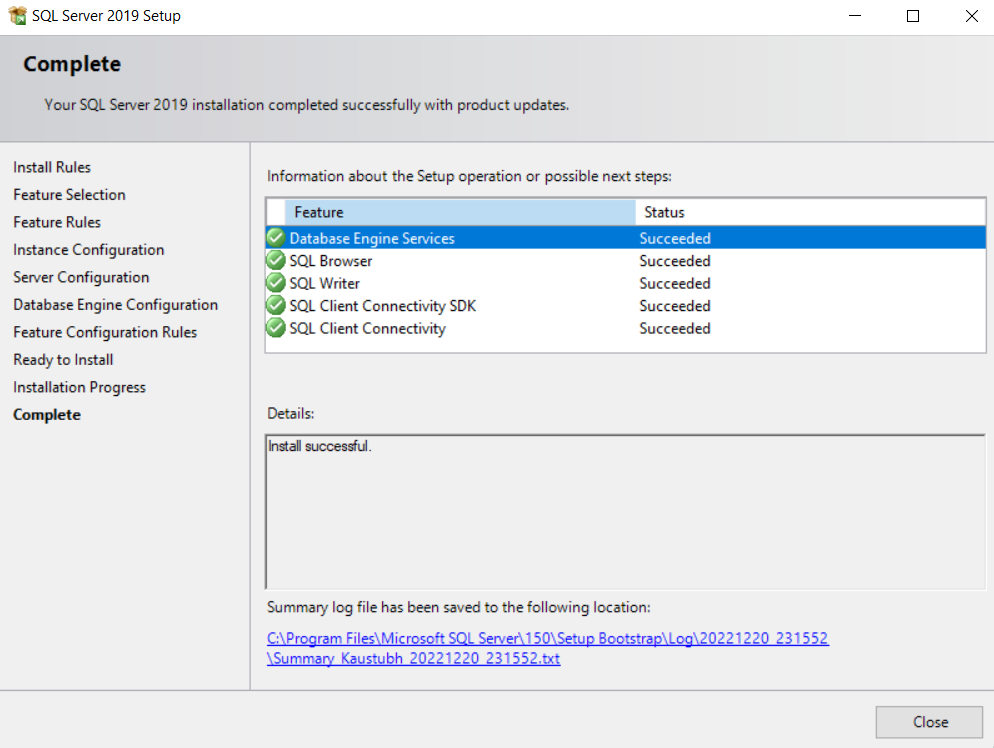
- It takes a while to install. Once finished, click on close.
Excellent! Our SQL Server 2019 is completely installed on our windows system. Now in order to connect to the SQL instance we will use the SQL Server Management Studio. You can follow the following steps to download and install SQL Server Management Studio.
Install SQL Server Management Studio
- Click here to navigate to Microsoft’s website, where you’ll find detailed information on SQL server management studio and the download option of the latest version of Management Studio.
- Click on the download link Or simply click here if you don’t like reading the information and want to install the software directly.
- After downloading the SSMS-Setup-ENU.exe file, run the file, and soon the installation starts.
- Now specify the path to the folder where you want to install the packages and click on install. The installation will complete automatically.
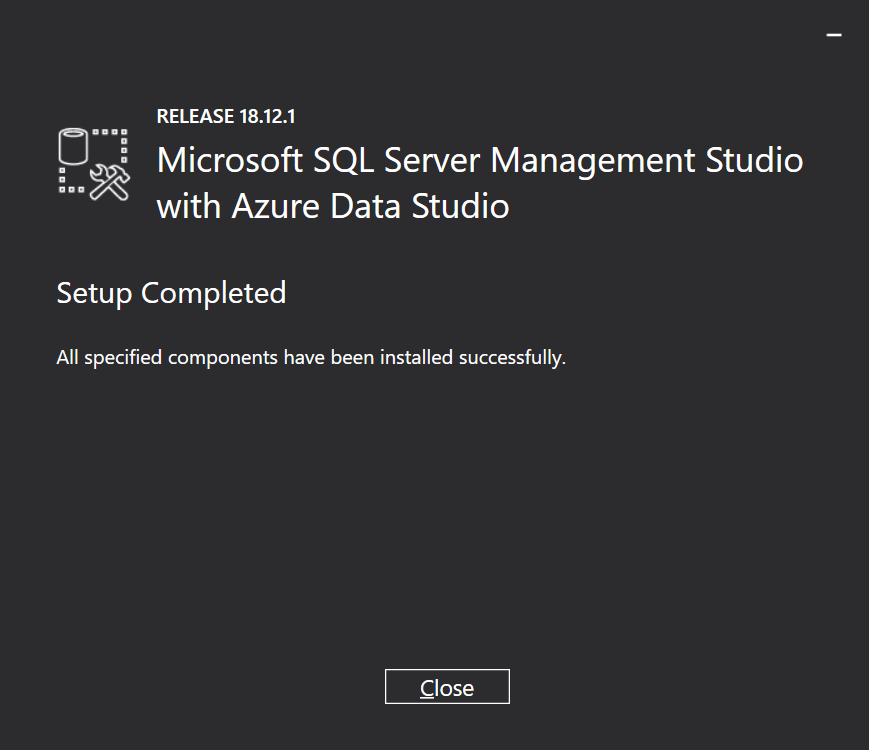
- You may require to restart your computer once the installation is complete.
Final Words
We have finished installing SQL Server 2019 on our Windows operating system in this tutorial. Additionally, SQL Server Management Studio installation has been done. You may now begin writing your first SQL script! Stay tuned with us for amazing tutorials on SQL Server.