Web applications or system software is written using a programming language that often incorporates a Database Management System(DBMS), for a DBMS to be able to communicate to the programming language needs a Database Driver.
In this tutorial, we’ll set up a development environment for MySQL JDBC. MySQL is a widely used open-source Database Management System(DBMS) while Java is a programming language used for Web applications to enterprise applications. When these two software needs to connection JDBC (Java Database Connectivity) is used for Database Drivers and database connectivity.
Required Software Download
There are four main tools you need to get the development environment ready:
1. MySQL
You can download MySQL from the below-mentioned link:
https://www.mysql.com/downloads/
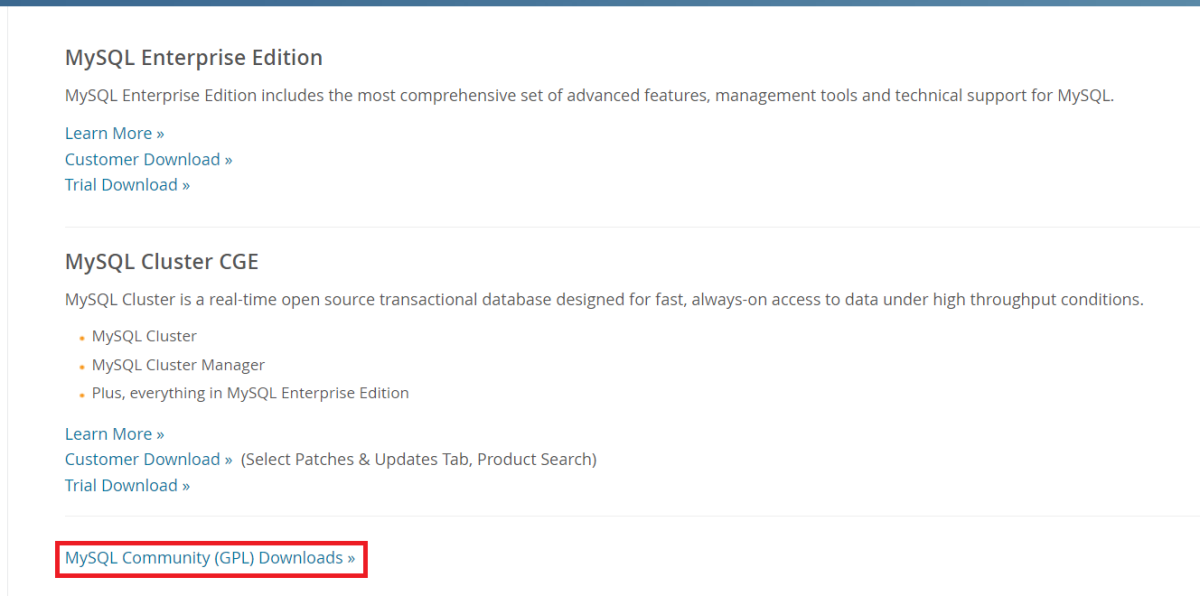
We’ll select MySQL Community(GPL) Downloads (after scrolling down a little).
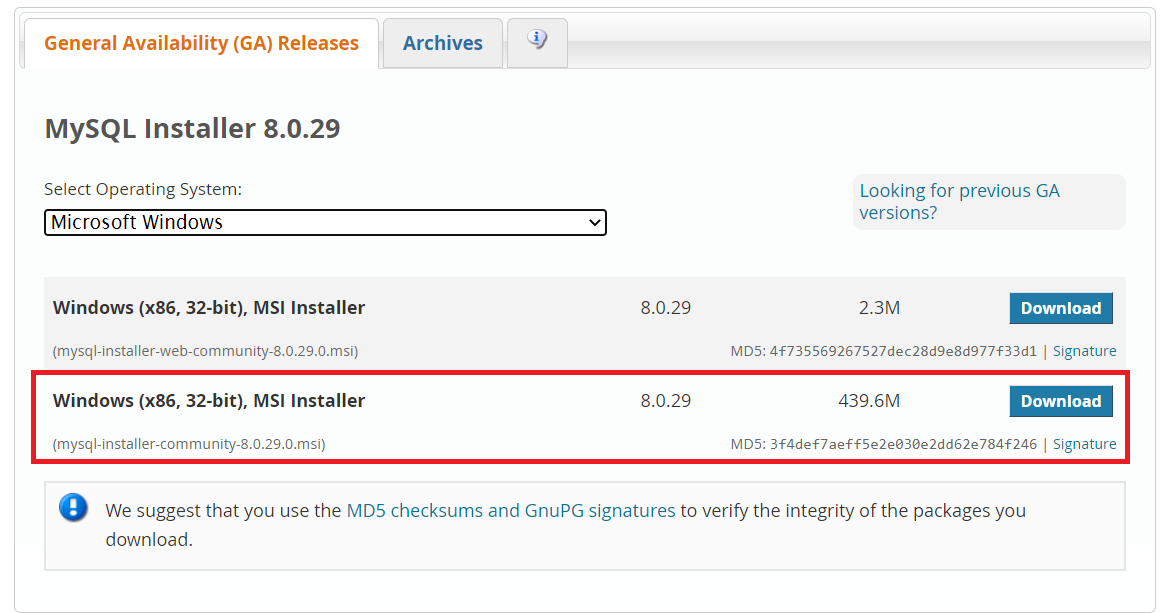
Select MySQL Installer for Windows and download mysql-installer-community-version.msi
Now, you can install MySQL Server, MySQL Workbench, and MySQLCommand Line using this installer.
2. Java Download and Installation
Java programming language comes in a suite called JDK (Java Development Kit) which comprises JVM (Java Virtual Machine) and JRE (Java Runtime Environment). Therefore, we’ll install JDK on our system, to download JDK just click on the below link, and according to your machine specification select installer and download from the below-mentioned link:
https://www.oracle.com/java/technologies/downloads/
After the download, run the installer, Java installation steps are self-explanatory so you just need to follow them and you’ll be good to go.
3. IDE Download
IDE stands for Integrated Development Environment, this is a software suite used for managing code, testing, and development. Whenever you’re setting a development environment, it is very important to have an IDE. There are language-specific IDEs as well, while working with java you can get a lot of options. There are several IDE for Java net
Eclipse IDE: It’s a very popular and easy-to-use IDE. we’ll be seeing the development environment setup in this tutorial using Eclipse IDE.
To download Eclipse: https://www.eclipse.org/downloads/packages/release/kepler/sr1/eclipse-ide-java-developers
4. JDBC Driver Download
As explained earlier in this tutorial, a JDBC driver is necessary for database connectivity. You can use the below link and download the platform-independent version of the JDBC driver for MySQL.
To get the JDBC Driver: https://downloads.mysql.com/archives/c-j/
Once the zip file is downloaded, extract this file and you’ll see a JAR file (Java Archive File) which we’ll use in the project setup.
Setup for MySQL JDBC Development Environment
In this section, we will see how to set all the software downloaded in the previous section, so that we get the development environment for application development. Let’s open Eclipse IDE and create a new java project. To create a new project in eclipse IDE:
File -> New -> Java Project
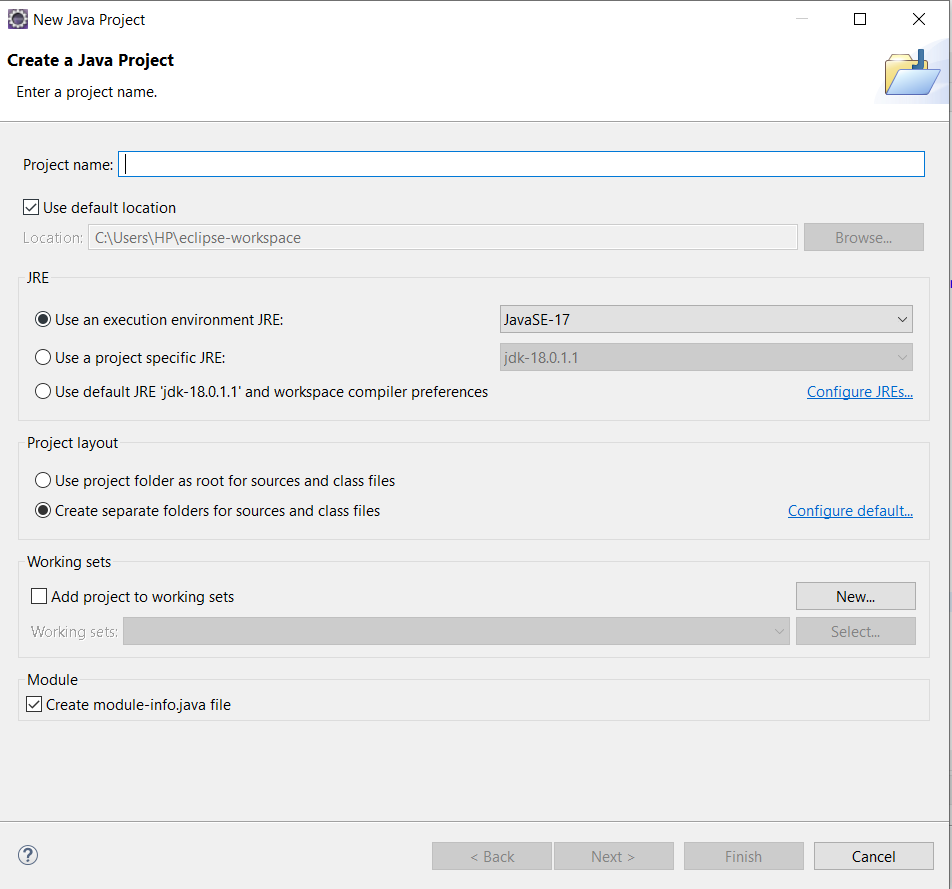
You’ll get a popup as shown in the below image, write the name of the project and click on Finish.
Now that we have created our project, it’s time to import the JDBC jar file. On the left side of Eclipse, you’ll see a workspace bar where you’ll see the name of the java project you just created, right-click on the project name and add a new folder called lib, in this lib folder add the JAR file. You can copy and paste the JAR file to this folder.
Now, when need to set the JAR file into the build path, to do that right-click on the project name, and select properties. You’ll see a window popup as shown in the below image:
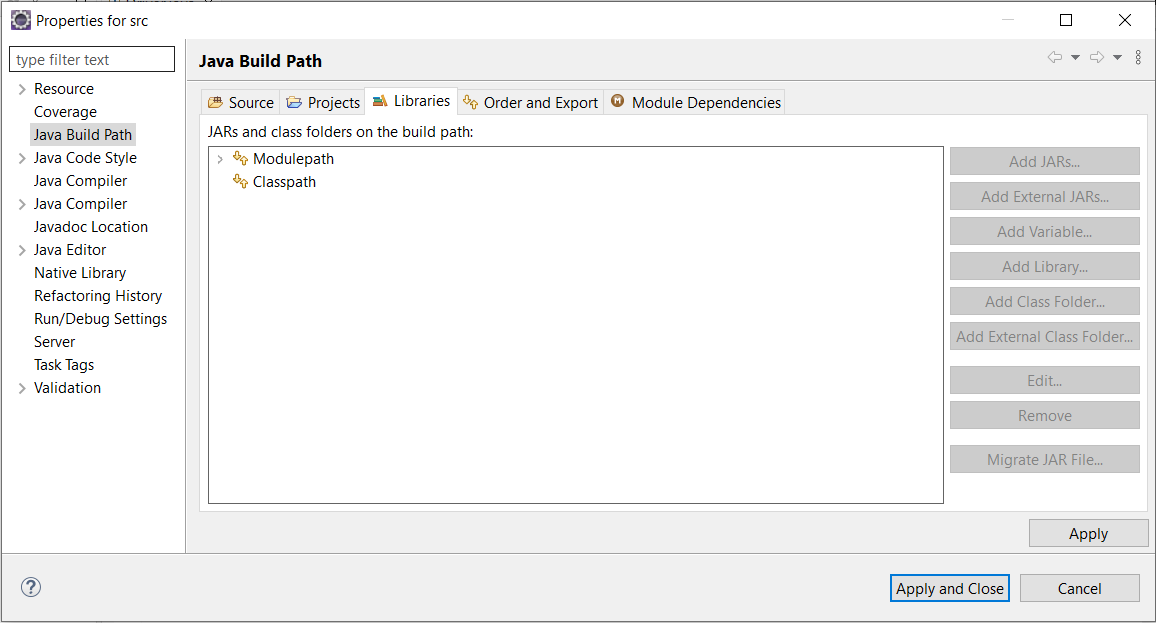
Select Java Build Path -> Libraries -> Modulepath
You’ll see an enabled option called add JAR.
Click that and select the JAR file using the path. Now, you are all set to work on your first MySQL Java project.
Conclusion
In this tutorial, we tried to understand all the factors needed for setting up a development environment for MySQL with JDBC. We saw how we can download and install all the required software and finally, we saw how we can set up our desktop for application development.