
In this tutorial, we will see how to work with the BLOB data type in MySQL using the python program. We will glance through the BLOB datatype and its uses. Then we will see how can we insert blob-type data into the table and retrieve it later by demonstrating an effective example. So, let’s get started!
Also read: Python-MySQL Delete Record
BLOB Datatype and Its Uses
BLOB stands for large binary object which is a family of column types for holding large-size binary data. There are four types of BLOB datatype- TINYBLOB, BLOB, MEDIUMBLOB, and LONGBLOB. The difference between those is only the capacity of holding the data.
BLOBs are primarily used to store multimedia entities such as images, videos, audio, files, etc. BLOB can hold a binary string of size up to 2,147,483,647 characters in length.
In this tutorial, we will write a python program to insert a user profile along with the profile image in the MySQL table. Also, we will see how can we retrieve the data from the BLOB column and show the original image that we have inserted.
Creating a Table
The first thing we need is the table having a BLOB-type column. So, let’s create a table named “profiles” where we will store the student id, name, bio, and profile picture.
CREATE TABLE profiles(
id INT AUTO_INCREMENT PRIMARY KEY,
name VARCHAR(100),
bio VARCHAR(100),
profile_pic BLOB
);Code language: SQL (Structured Query Language) (sql)
Here, we have created a column “profile_pic” of type BLOB. You can choose LONGBLOB or MEDIUMBLOB as well. But, BLOB is just fine for us.
Now, the next step is to establish a connection between the MySQL server and the Python program.
Packages/Modules That We Will Need
To demonstrate the following example, we will nee following packages- python-mysql connector, pybase64, pillow, and io.
How to install-
pip install pybase64
pip install Pillow
pip install mysql-connector-pythonCode language: Bash (bash)
The pillow and io modules are probably installed with Python already. Still, you can try to install the pillow module.
Import All Modules and Packages
On the top of the python program, it is necessary to import all packages and modules.
import mysql.connector as mc
import base64
from PIL import Image
import ioCode language: Python (python)
Establish a Connection and Create an Object
import mysql.connector as mc
conn = mc.connect(
    host="localhost",
    user="root",
    password="1234",
    database="journaldev"
)
cur = conn.cursor()Code language: Python (python)
Here, we have imported the python-mysql connector and created a cursor object.
The next step we need to follow is to create a function that will convert the uploaded image to binary data.
Convert an Image to Binary
def convert(filename):
    with open(filename, 'rb') as file:
        binary = file.read()
        binary = base64.b64encode(binary)
    return binaryCode language: Python (python)
Here, the function convert will accept the filename as a parameter which is in string form.
Then we will open the file in read-binary mode and store the result in the variable “binary”.
This step is enough for converting an image to binary form. However, to retrieve and display the image back to the user, we will need to encode the file to get the base64 string.
Finally, we return the finally encoded data.
Inserting Data into the Table Using Python
To insert the data, we will create a function so that we can insert as much data as we want using a simple function call.
def insert(name, bio, profile_pic):
    profile_pic = convert(profile_pic)
    in_query = """INSERT INTO profiles(name,bio,profile_pic) values(%s, %s, %s)"""
    cur.execute(in_query, (name, bio, profile_pic))
    conn.commit()
    print("\n DATA inserted successfully")
    return 0Code language: Python (python)
Here, we accept three parameters from the function call- name, bio, and profile_pic. The profile_pic is the path of the image.
We pass the path of the image the convert() function that we created earlier to get the data in binary form.
Then we write a simple insert query and execute it. Finally, to save the changes, we execute the commit() method.
Let’s now insert some data.
insert("Sashi Mehra", "Delicious, the world", "jack.jpg")Code language: Python (python)Here, the first two parameters are simple text which will be inserted into the table as it is. The third parameter is also a string, but it represents the path of an image.
The image that we are using here is given below and it is kept in the same folder as the current program file.

Let’s run the Python program.
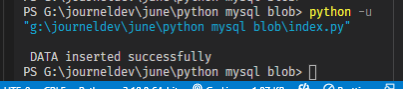
As you can see, we have received a message on the terminal. Let’s check the table to see if the data gets inserted in the correct format.
SELECT * FROM profiles \G;Code language: SQL (Structured Query Language) (sql)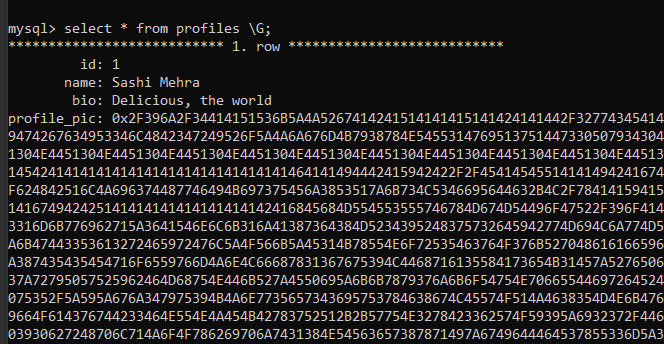
As you can see, the data is inserted in the form of binary. The length of the BLOB column data is so long, that it may take hundreds of lines on the terminal.
Now, we will write a method to retrieve and display the image that we have inserted in the table.
Retrieve the Data From the Table
It is very easy to retrieve the text data from the mysql table. We will see how can we retrieve the data from the BLOB column and display the image that we have inserted.
def retriveImage(id):
    query = """SELECT profile_pic FROM profiles WHERE id=%s"""
    cur.execute(query, (id,))
    results = cur.fetchall()
    # the returned data will be a list of list
    image = results[0][0]
    # Decode the string
    binary_data = base64.b64decode(image)
    # Convert the bytes into a PIL image
    image = Image.open(io.BytesIO(binary_data))
    # Display the image using default image app
    image.show()
    return 0Code language: Python (python)
Here, the retriveImage function accepts the student id as a parameter.
Then we write a select query to fetch only the image of the specified id.
Then we get a binary string, decode it, convert it to the PIL image, and display it using the default app such as paint or photos if you are a windows user.
Let’s call the retriveImage function with the student id and run the program to see if it displays the image that we have inserted.
retriveImage(1)Code language: Python (python)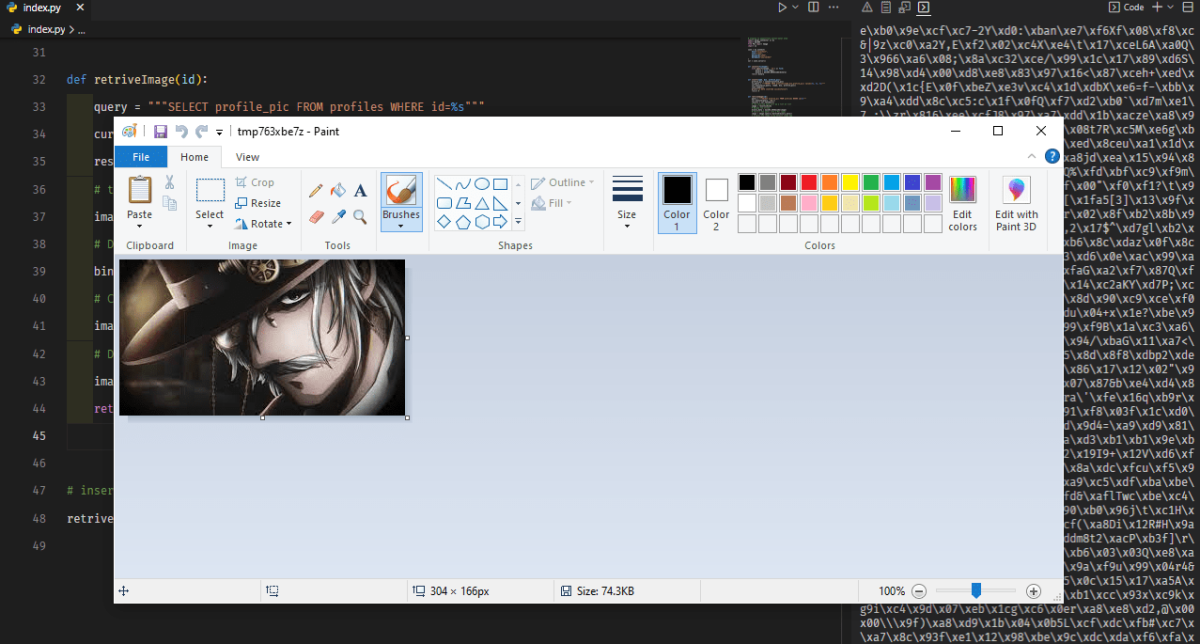
As you can see, the image automatically gets opened in the paint app as it’s the default app set on our machine.
Summary
In this tutorial, we have learned-
- What is the BLOB datatype and why do we need it.
- Types of the BLOB.
- How to convert the image to binary data.
- How to insert the binary data into the BLOB column.
- How to retrieve the image from mysql table and display it.