In this tutorial, we will see how can we retrieve the data from the MySQL table and display it on the webpage using PHP. Retrieving data from the MySQL table is a simple process. However, fetching all the data from the table and displaying it on the webpage in the proper manner requires you to write additional lines of code.
In this tutorial, we will go through each and every step that you will need to fetch and display the data using PHP. Moreover, we will see how to retrieve the data from the MySQL table by using MySQLi as well as PDO. So, let’s get started!
Before We Start
As you know, we use the SELECT statement to retrieve the data from one or more tables. You can use joins to fetch data from multiple tables. However, in this tutorial, we will demonstrate to retrieve the data from a single table.
Note that, to retrieve only particular column values from the table, we use the following statement.
SELECT column_names FROM table;Code language: SQL (Structured Query Language) (sql)Retrieve Data from MySQL Table Using PHP
In this tutorial, we will use an already created table with the data inserted into it as shown below-
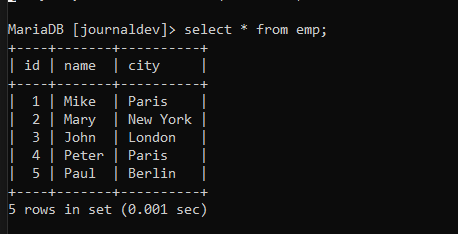
As you can see, we have three attributes in the table- id, name and city. So, we will display all the table data in the below examples.
Fetch Data Using MySQLi (Procedural)
<?php
$servername = "localhost";
$username = "root";
$password = "";
$dbname = "journaldev";
$conn = mysqli_connect($servername, $username, $password, $dbname);
if (!$conn) {
    die("Connection failed:" . mysqli_connect_error());
}
$query = "SELECT * FROM emp";
$result = mysqli_query($conn, $query);
if (mysqli_num_rows($result) > 0) {
    while ($row = mysqli_fetch_assoc($result)) {
        echo "id: " . $row["id"] . " - Name: " . $row["name"] . " - City: " . $row["city"] . "<br>";
    }
} else {
    echo "No result found";
}
mysqli_close($conn);
?>Code language: PHP (php)
Let’s see how the above program works.
First, we write the SELECT query and assign it to the variable.
Second, we execute the query using the mysqli_query() function. After the query is executed, the result gets stored into the variable $result.
Third, we check if the result that we are getting consists of greater than zero rows using the mysqli_num_rows() function. If there are more than zero rows, the if block executes.
Forth, the mysqli_fetch_assoc() function will create an array of records by using the result that we fetched earlier in the $result variable.
Fifth, we use the WHILE loop to iterate over the array of results. To print id, name and city, we use the column names as the index of arrays.
When we execute the PHP program in the browser, we get the following result.
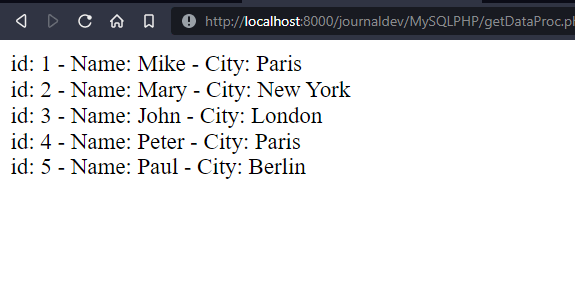
We have received the data as it is in the table. However, it is not looking good.
To arrange it in the proper format, we can use the HTML table. Check the PHP program below to understand how we can use the HTML table to arrange the data.
<?php
$servername = "localhost";
$username = "root";
$password = "";
$dbname = "journaldev";
$conn = mysqli_connect($servername, $username, $password, $dbname);
if (!$conn) {
die("Connection failed:" . mysqli_connect_error());
}
$query = "SELECT * FROM emp";
$result = mysqli_query($conn, $query);
if (mysqli_num_rows($result) > 0) {
echo "<table border=1 style='border-collapse:collapse;>";
while ($row = mysqli_fetch_assoc($result)) {
echo "<tr>";
echo "<td>" . $row["id"] . "</td>";
echo "<td>" . $row["name"] . "</td>";
echo "<td>" . $row["city"] . "</td>";
echo "</tr>";
}
echo "</table>";
} else {
echo "No result found";
}
mysqli_close($conn);
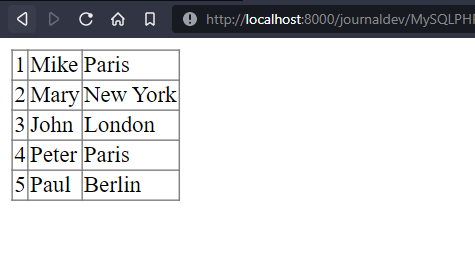
?>Code language: PHP (php)Here, we haven’t used too many CSS properties for simplicity. However, you can use the CSS properties such as padding, margin and colors to make the table look more fancy and attractive.
The above script generates the output as follows-
Fetch Data Using MySQLi (Object-Oriented)
<?php
$servername = "localhost";
$username = "root";
$password = "";
$dbname = "journaldev";
$conn = new mysqli($servername, $username, $password, $dbname);
if ($conn->connect_error) {
    die("Connection failed: " . $conn->connect_error);
}
$sql = "SELECT * FROM emp";
$result = $conn->query($sql);
echo "Fetch result using MySQLi Object-Oriented Method<br>";
if ($result->num_rows > 0) {
    while ($row = $result->fetch_assoc()) {
        echo "id: " . $row["id"] . " - Name: " . $row["name"] . " - City " . $row["city"] . "<br>";
    }
} else {
    echo "No result found";
}
$conn->close();
?>Code language: PHP (php)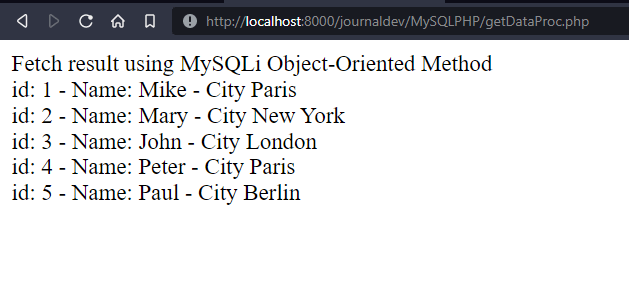
Fetch Data Using PDO
<!-- retrive data from mysql table using PDO -->
<?php
$servername = "localhost";
$username = "root";
$password = "";
$dbname = "journaldev";
$conn = new mysqli($servername, $username, $password, $dbname);
try {
    $conn = new PDO("mysql:host=$servername;dbname=$dbname", $username, $password);
    $conn->setAttribute(PDO::ATTR_ERRMODE, PDO::ERRMODE_EXCEPTION);
    $stmt = $conn->prepare("SELECT * FROM emp");
    $stmt->execute();
    $i = 0;
    $result = $stmt->fetchAll(PDO::FETCH_ASSOC);
    echo "Data fetched using PDO<br>";
    foreach ($result as $row) {
        echo "id = " . $row['id'] . ", Name =  " . $row['name'] . ", City = " . $row['city'] . "<br>";
        $i++;
    }
} catch (PDOException $e) {
    echo "Error: " . $e->getMessage();
}
$conn = null;
?>Code language: PHP (php)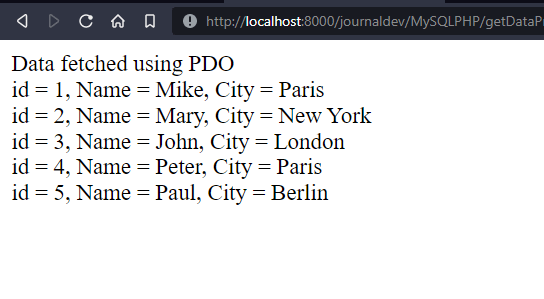
Conclusion
In this tutorial, we learned how to retrieve data from a MySQL table and display it on a webpage using PHP. We have seen the data retrieving procedure by all methods- MySQLi procedural, MySQLi object-oriented and PDO. We also understood how to arrange the data in the proper format on the webpage using an HTML table. I hope you understood the topic very well. Stay tuned to mysqlcode.com for more interesting tutorials!