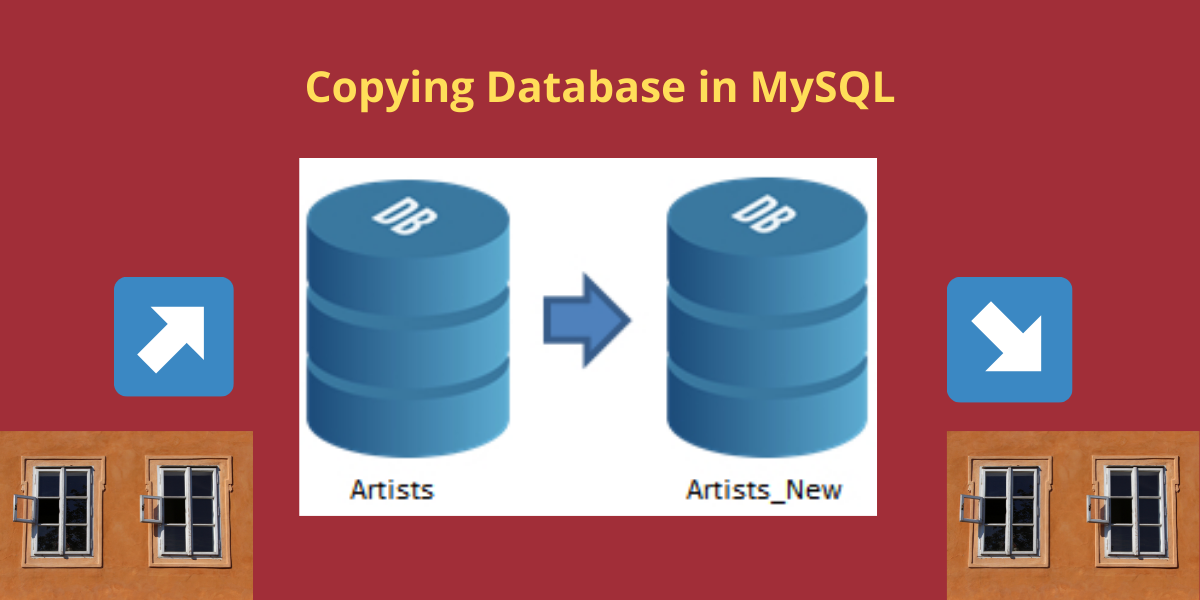
MySQL copy database is a process of creating an exact duplicate of a MySQL database. This can be done for a variety of reasons, including creating a backup or transferring data to another server. There are several methods for copying a MySQL database, each with its own advantages and disadvantages. In this article, we will discuss:
- How to copy a database on the same server
- How to copy a MySQL database to a remote server
Without further ado, let’s get started!
Copy a MySQL Database On The Same Server
Here, we will copy databases in MySQL on the same server. For this, we will be using an inbuilt database named sys.
The steps for implementing this are as follows:
- Firstly, create a new database using CREATE DATABASE command.
- Now export all the objects and data of the database from the database which you want to copy using the mysqldump command.
- At last, import the SQL dump file into the new database.
Step 1 – Login to MySQL Server
Log in to MySQL server using mysql -u root -p command and then enter the password.
mysql -u root -p
Enter password: *******Code language: SQL (Structured Query Language) (sql)
Step 2 – Create a New Database To Copy The Data
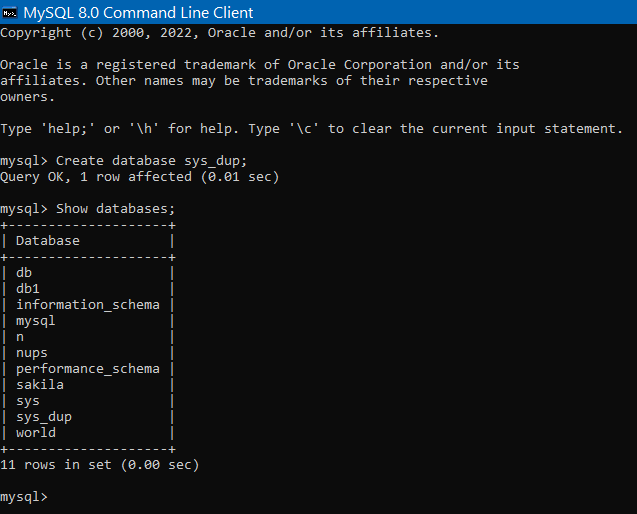
Now create a database using the following command for this demonstration. You can repeat the same steps on an existing database too.
Create database sys_dup;Code language: SQL (Structured Query Language) (sql)Show databases;Code language: SQL (Structured Query Language) (sql)Output:

Here, we can see that the sys_dup database has been successfully created.
Step 3 – Dump Objects To A File
Now, dump the objects and data of sys database into an SQL file named sys_dup.sql which is located at the specified location.
The command for this is-
mysqldump -u root -p sys > C:\SQL\sys_dup.sql
Enter password: *********Code language: SQL (Structured Query Language) (sql)
Output-

So basically here ‘>‘ this symbol is used to export database objects and data into the SQL file named sys_dup.sql which is located at C:\SQL location. Dump completed means that all the objects and data in the databases have been successfully exported to the sys_dup.sql file.
Step 4 – Import The MySQL Dump File
At last, we will import the SQL file named sys_dup.sql in the database which was created at the starting sys_dup.
The command for this is-
mysql -u root -p sys_dup < C:\SQL\sys_dup.sql

Enter password: **********
Code language: SQL (Structured Query Language) (sql)
The operator ‘<‘ is used to import the database objects and data.
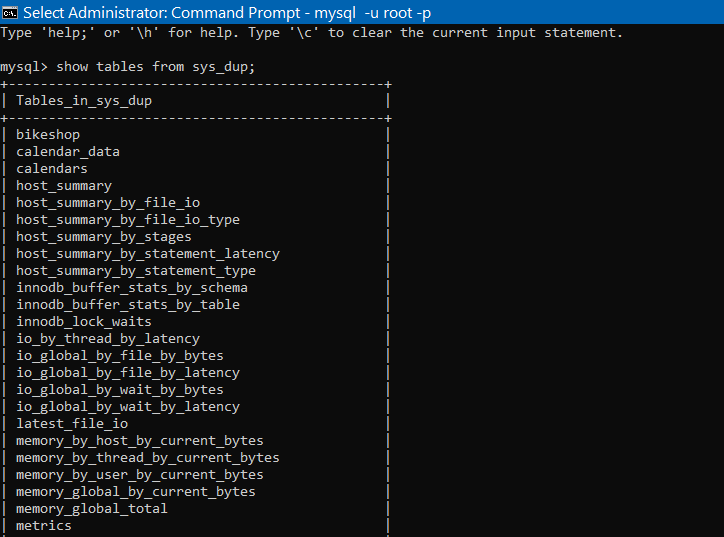
Now to check whether the database has been successfully copied run this command-
Show Tables from sys_dup;Code language: SQL (Structured Query Language) (sql)Ouput-

We have successfully copied all the database objects and data from sys database to sys_dup database.
Copy a MySQL Database To A Remote Server
Now we will copy the MySQL database from one server to another and the steps for this are-
- Firstly, we will export the database which is present on the source server to a SQL dump file.
- Next, copy the SQL dump file to a certain destination folder.
- At last, import the SQL dump file to that destination folder.
Export sys database which is already present in MySQL to the SQL file named database.sql and the commands used are-
mysqldump -u root -p --databases sys > C:\SQL\database.sql
Enter password: **********
Code language: SQL (Structured Query Language) (sql)
Here, –databases statement has included both CREATE DATABASE and USE DATABASE commands. What it does is, it will create sys database in the destination server.
Now, import the database.sql file to the database server assuming that it was already copied to a different location. Here the location to which it has been copied is C:\SQL2\database.sql and the commands used for the following are-
mysql -u root -p sys < C:\SQL2\database.sql
Code language: SQL (Structured Query Language) (sql)
In this way, we have copied a database from one server to the other.
Conclusion
In this tutorial, we studied and also implemented copying databases on the same server and from one server to the other in MySQL.
You can also refer to the official documentation for the same from here.
