In this tutorial, you will learn how to import a CSV file in MySQL Database using command Line and MySQL Workbench.
Introduction
CSV(Comma Separated Values) file is a type of file that contains values delimited by commas. The CSV files allow data to be stored in tabular format. MySQL is a relational database management software that stores relational data which means that the data is stored in tabular format. What we’ll do in this tutorial is, we’ll import that CSV data into a table so that we could use that data for analysis or manage the data using SQL.
For this tutorial you’ll need:
- MySQL installed on your desktop/ laptop
- A CSV file
Importing CSV file using MySQL Command Line
Here are the steps to follow and you’ll be able to import any CSV file to the MySQL database very easily.
Step 1: Select a CSV file
Choose the CSV file want to add to your database and save it at this location:
C:\ProgramData\MySQL\MySQL Server 8.0\UploadsCode language: CSS (css)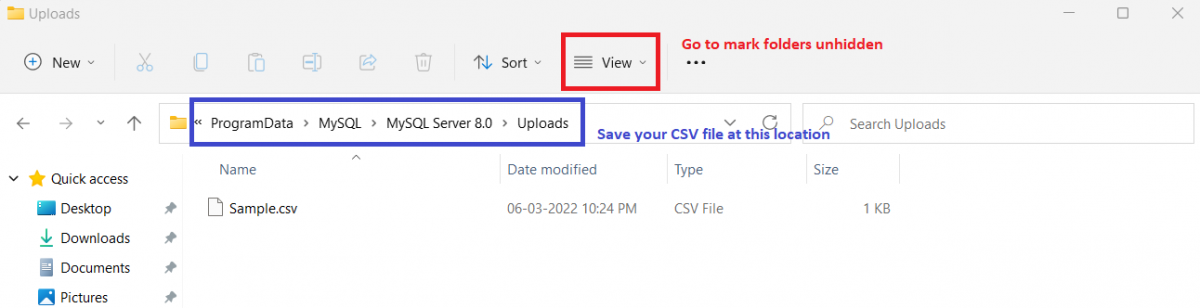
Note, if you can’t see the program data folder in c drive then this means that the folder is hidden, to make it visible you need to perform the following actions:
- Click on View in the toolbar
- Click on show
- Check Hidden Items
Step 2: Open MySQL command-line client
You can either open it with the window’s command prompt or directly open MySQL command Line Client from the start bar.
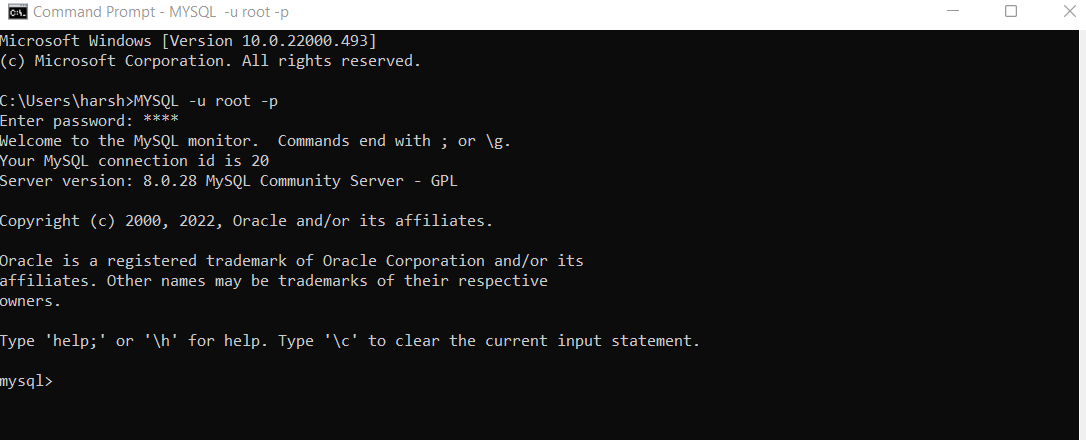
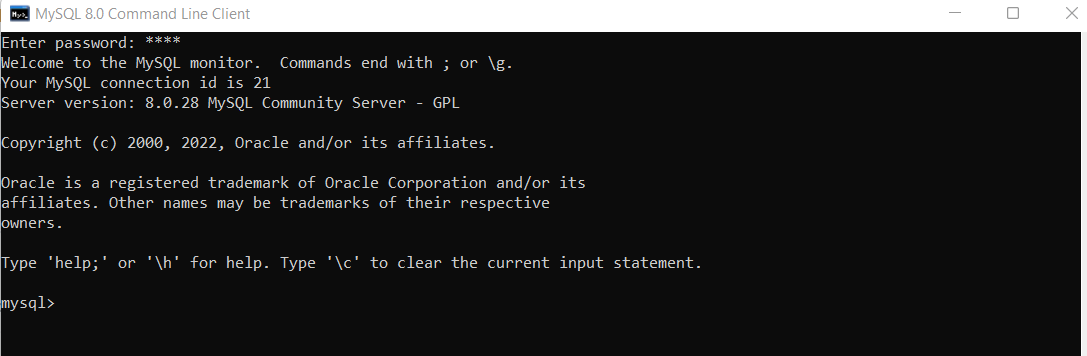
In both cases, you’ll be able to connect to MySQL as long as you are putting in the correct password.
Step 3: Check the databases
Check databases present in your MySQL server, select the apt database to create a table or you can create a new database.
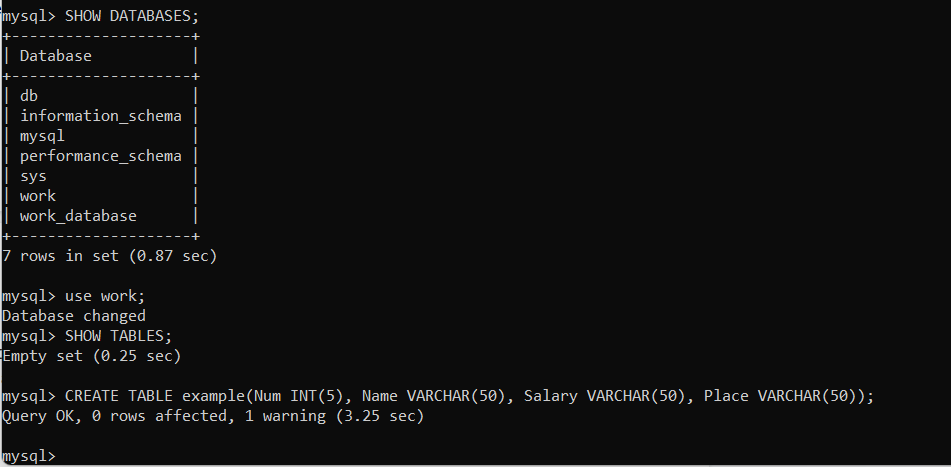
In the above image you can see a few commands, now let’s go through them one by one for a better understanding of the process.
SHOW DATABASES; Code language: SQL (Structured Query Language) (sql)This command is for viewing all the databases present in MySQL.
If you have a database to work on then go with the below command:
USE [Database_Name];Code language: SQL (Structured Query Language) (sql)In the above example, we’ve used the WORK database. The above command helps you to work on a particular database rather than working over MySQL.
If you don’t have any database to work on then you can create a new database by using:
CREATE DATABASE [Database_Name];
SHOW TABLES; Code language: SQL (Structured Query Language) (sql)
This command helps you to see all the tables present in your current database.
As you can see, in the above example, no tables are present, or if in your case a table is present in your database then you can work on it just remember that it’s empty or of no use and you’d have to do a little tweaking which will be easy by referring to MySQL manual.
Step 4: Load the CSV file into a table
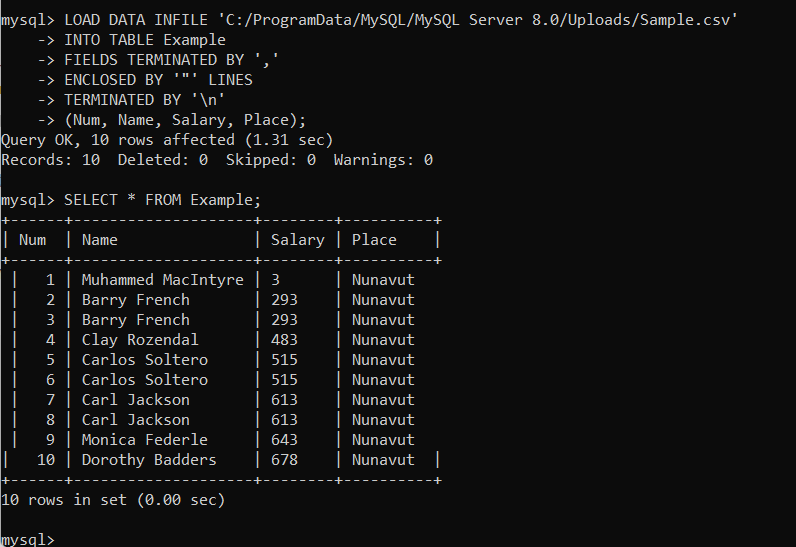
You can use the below command to import a CSV File in a particular table:
LOAD DATA INFILE 'C:/ProgramData/MySQL/MySQL Server 8.0/Uploads/Sample.csv'
INTO TABLE Example
FIELDS TERMINATED BY ','
ENCLOSED BY '"' LINES
TERMINATED BY '\n'
(Num, Name, Salary, Place);Code language: SQL (Structured Query Language) (sql)
And that’s how you upload a CSV file in MySQL using the MySQL 8.0 command-line client. Note that, if you’re uploading a huge file it takes a lot of time to convert from CSV to Tabular format in MySQL.
Importing CSV files using MySQL Workbench
Importing a CSV file using MySQL Workbench is a much easier and self-explanatory way of importing a CSV file. In this section, we’ll learn how to perform the steps.
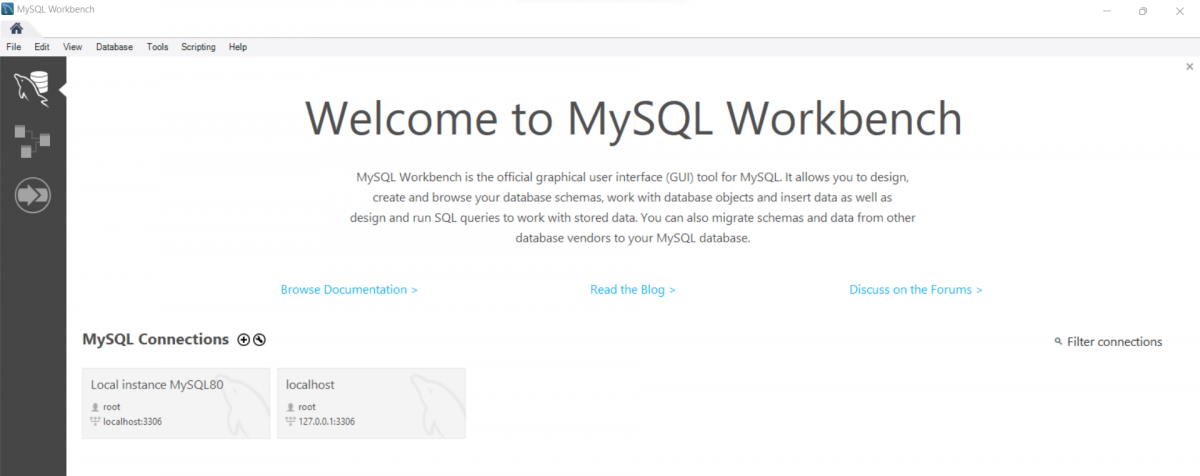
Step 1: Launch MySQL Workbench and set the connection.
Step 2: Select a database you want to work on.
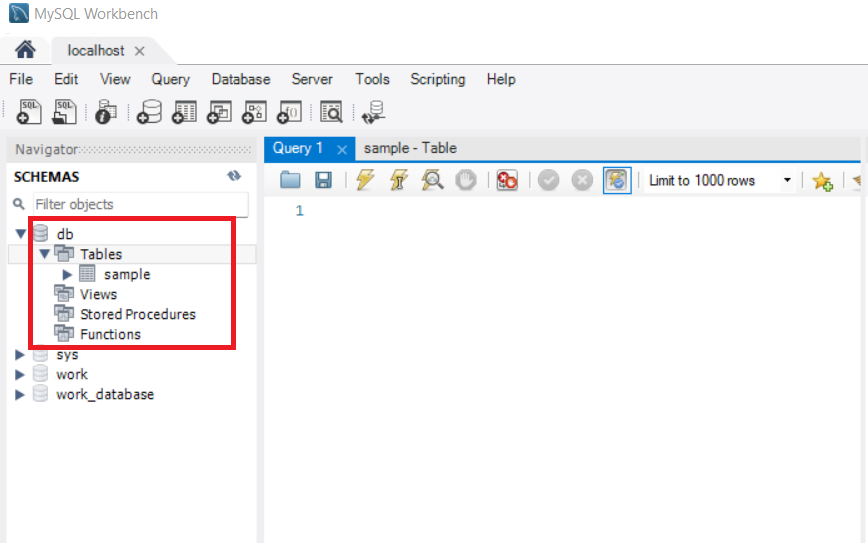
In the above example, We’ve used db database, you can either choose a database or can create a new one. For creating a new database write the following command:
CREATE DATABASE [Database_Name];Code language: SQL (Structured Query Language) (sql)Step 3: Right-click over the table, and select Table Data Import Wizard.
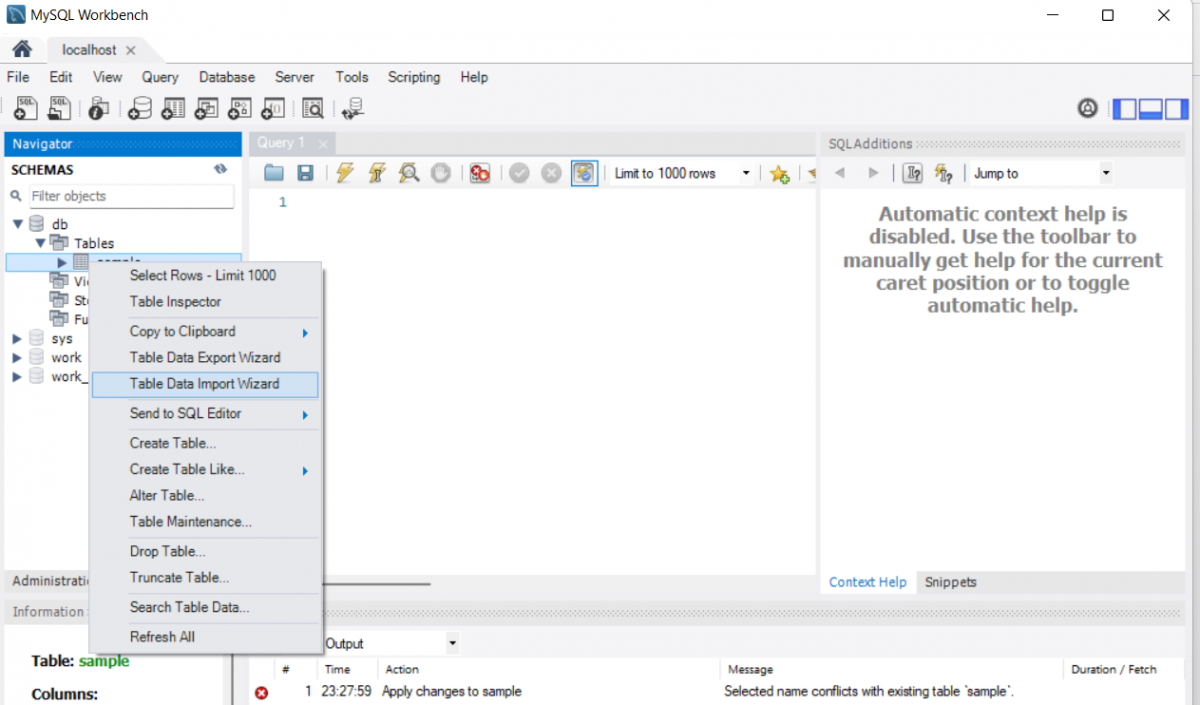
By clicking on Table Data Import Wizard, a pop-up window will appear and we just need to follow the procedure.
Step 4: Importing the table using Import Wizard
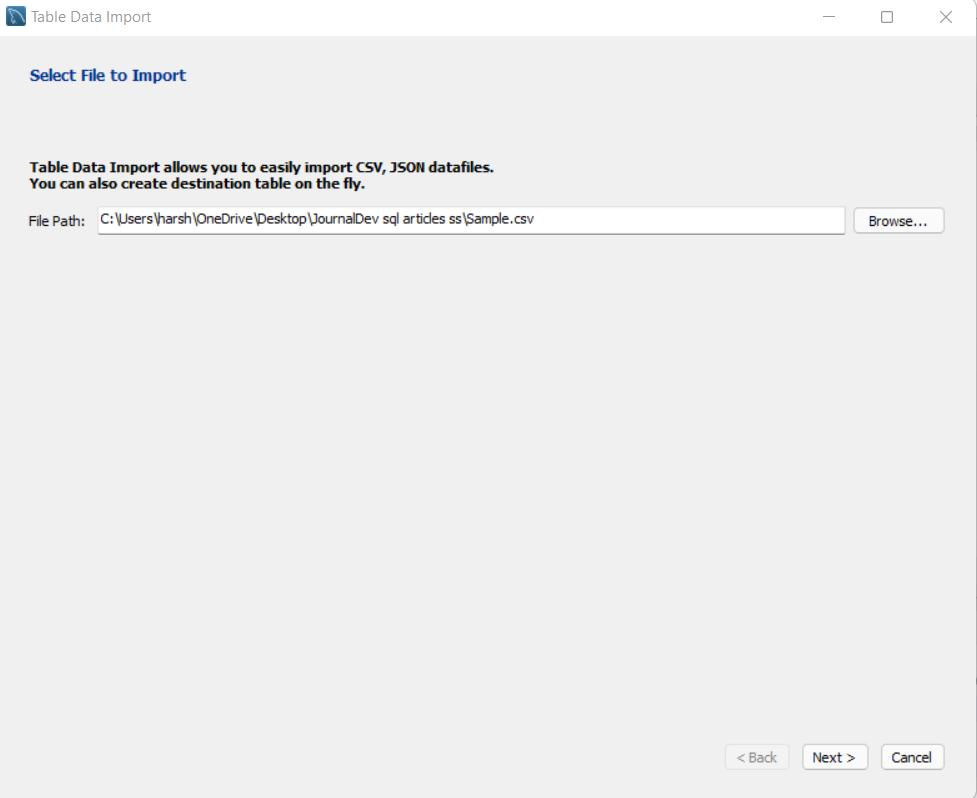
1. Enter the path of your CSV file in the File Path area and press the next button.
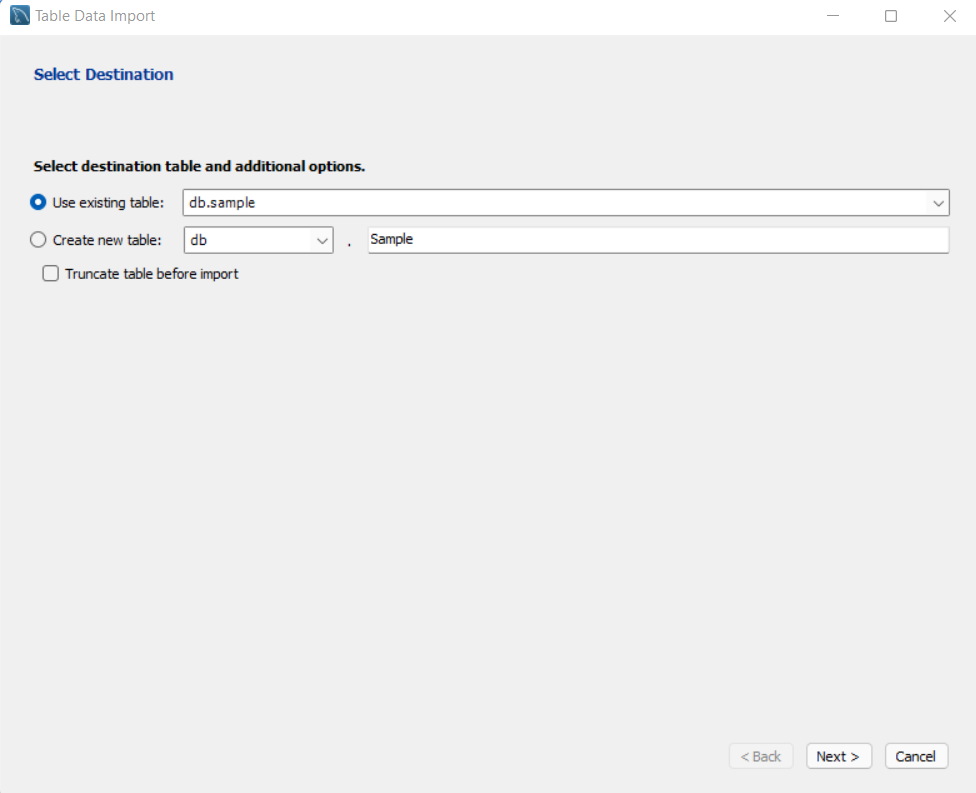
2. Select Destination tab will give you 2 options, one you can use an existing table or you can create a new one. In this example, we are using an existing table and press next.
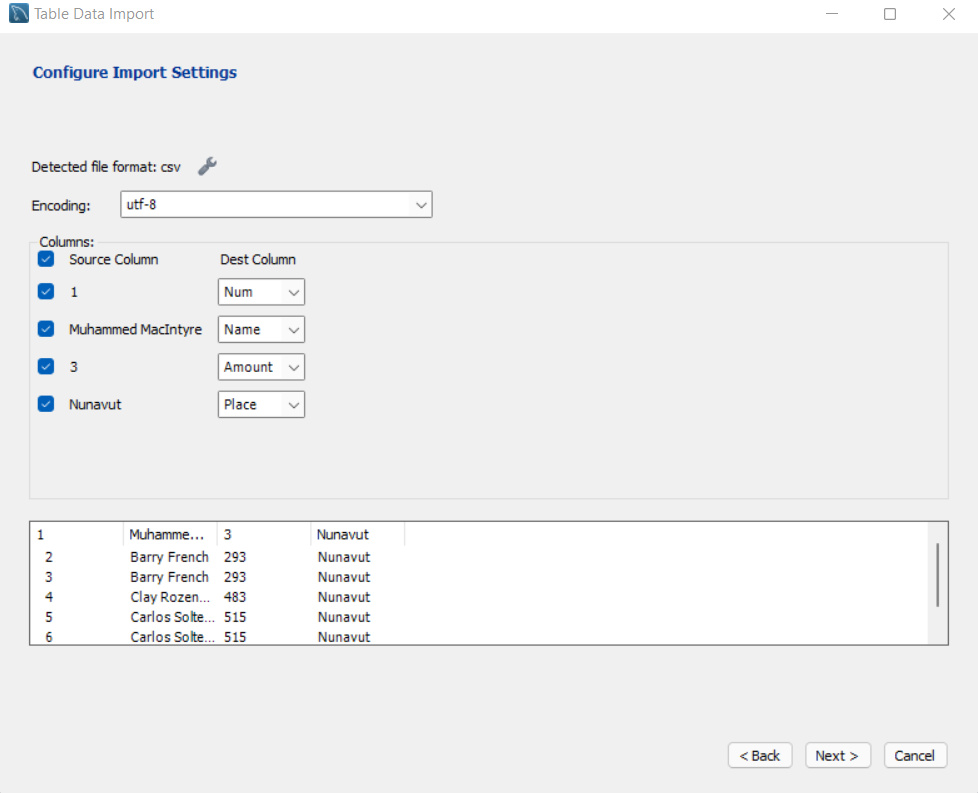
3. Configure the Import Settings tab, in this tab you just need to enter the name of columns and let Encoding be set to default, don’t change it.
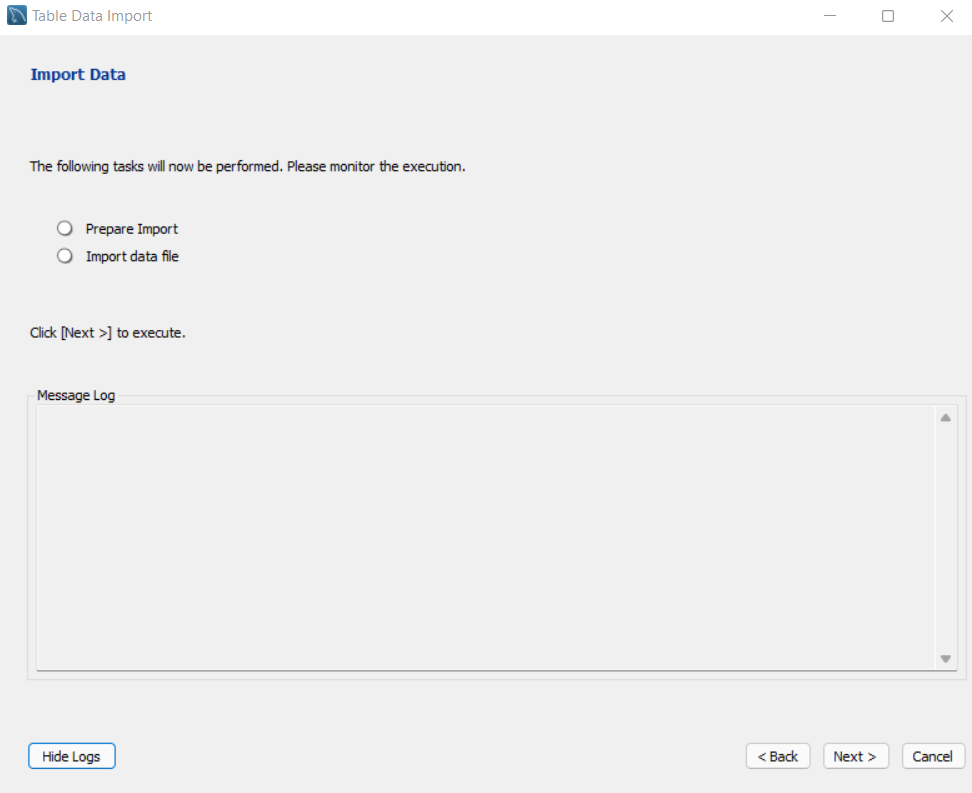
4. Import Data Tab will prompt you two activities which will take place, Prepare Import and Import data file. Here, at the bottom you’ll find the show logs button, you can click on it if you want to see the logs, or else you can simply click on next.
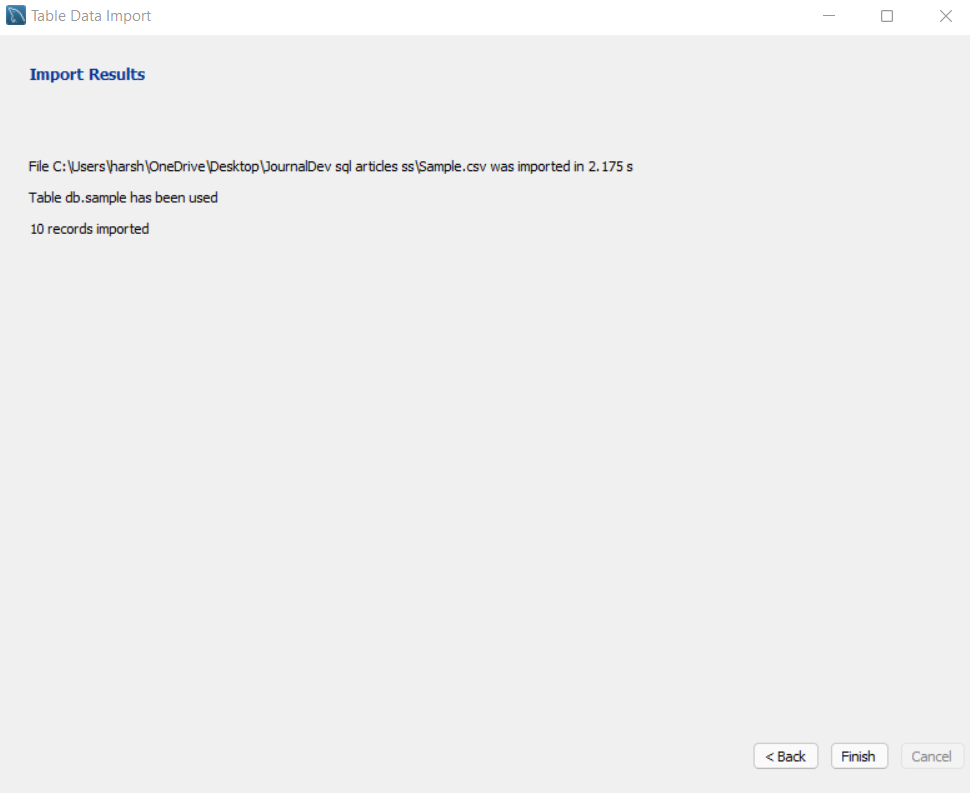
5. Click On Finish.
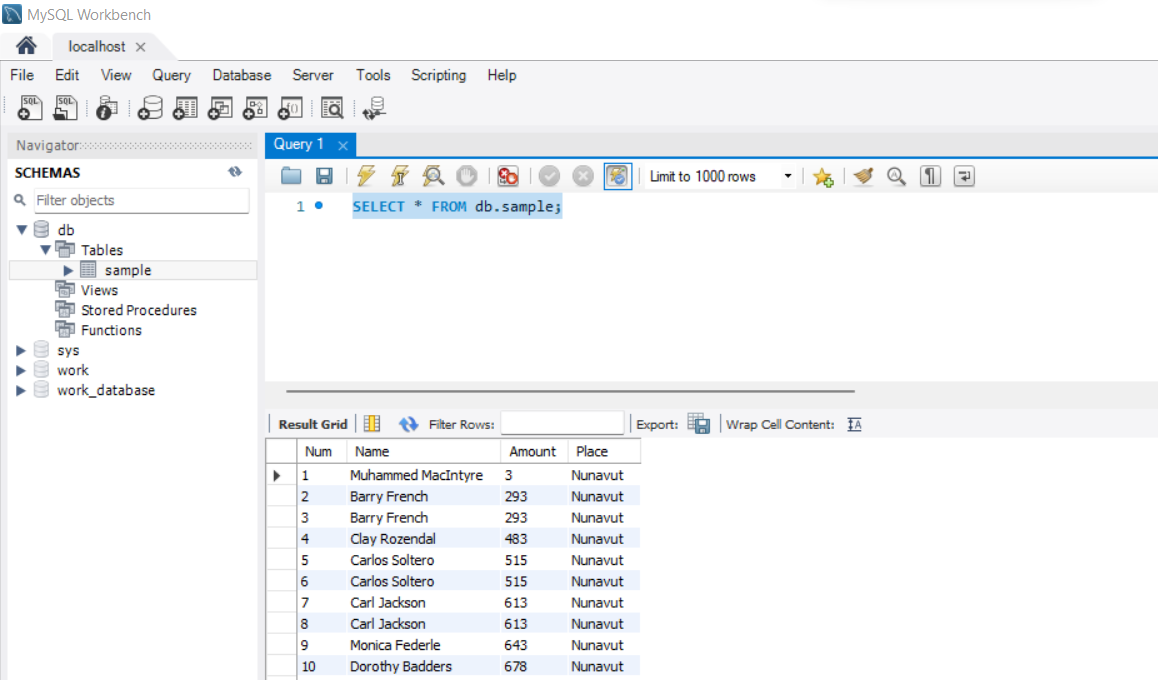
Step 4: Check the table, to see if data is imported properly or not. And you are done here.
Conclusion
This is how you import a CSV file in MySQL Database using MySQL Workbench. For more information, check the resources section below!
Resources:
https://dev.mysql.com/doc/workbench/en/wb-admin-export-import-table.html
https://dev.mysql.com/doc/refman/8.0/en/load-data.html