MySQL is a popular relational database management system. It is open-source and is supported by operating systems such as macOS, Windows, Linux, etc. MySQL language makes it easy for users to create, maintain and manipulate databases.
In this tutorial, we’ll learn how to install MySQL on a macOS machine. This is an easy-to-follow and step-by-step guide to follow along.
Steps to install MySQL on macOS
Step 1: Go to MySQL Downloads website
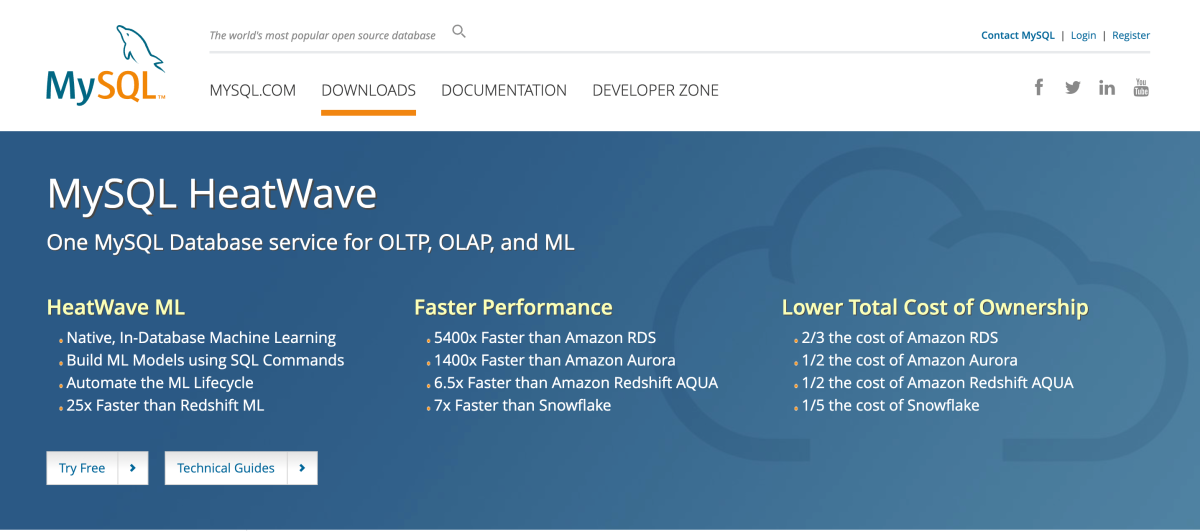
Scroll to the bottom of the page and click on MySQL Community(GPL) Downloads.
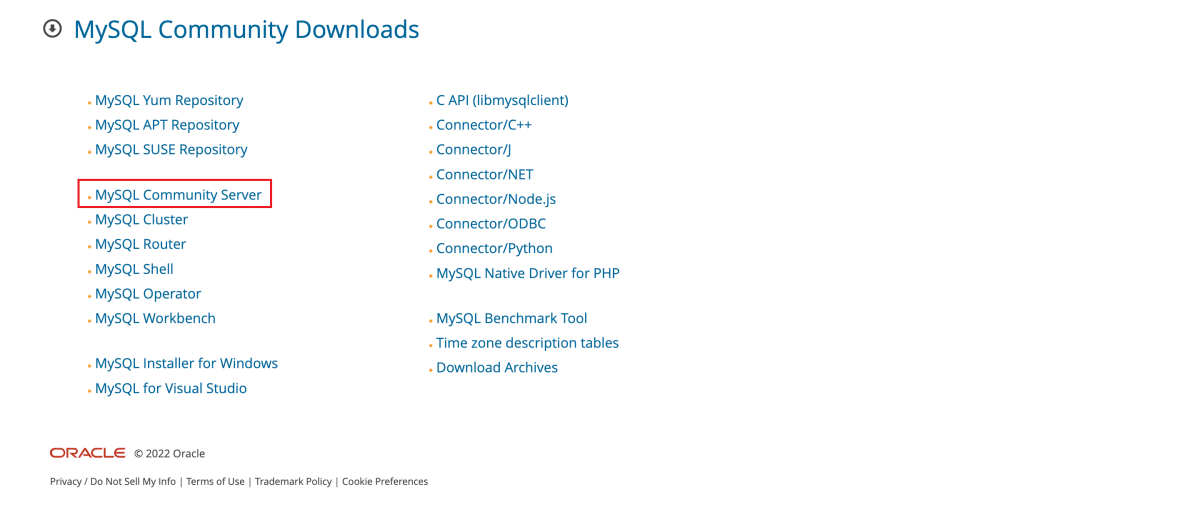
Step 2: Click on MySQL Community server. The community server provides you will free downloadable MySQL versions for various operating systems.
Step 3: After reaching the MySQL Community Server page, you’ll get a dropdown list of operating systems, you can select macOS. You’ll get various options for MySQL server’s latest version. You need to select the macOS version with ARM and DMG Archive, as shown in the below image:
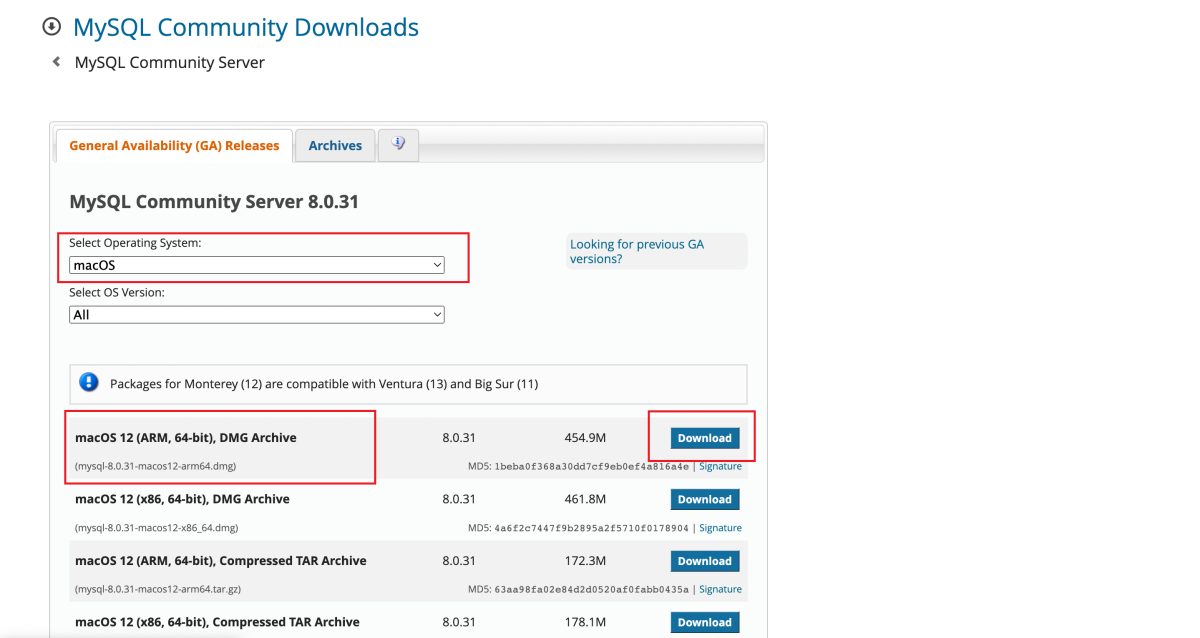
Click on Download, once the MySQL server gets downloaded, you’ll be good to go with the installation.
Step 4: After downloading, doubt click on the installer and you’ll get the screen as shown in the below image:
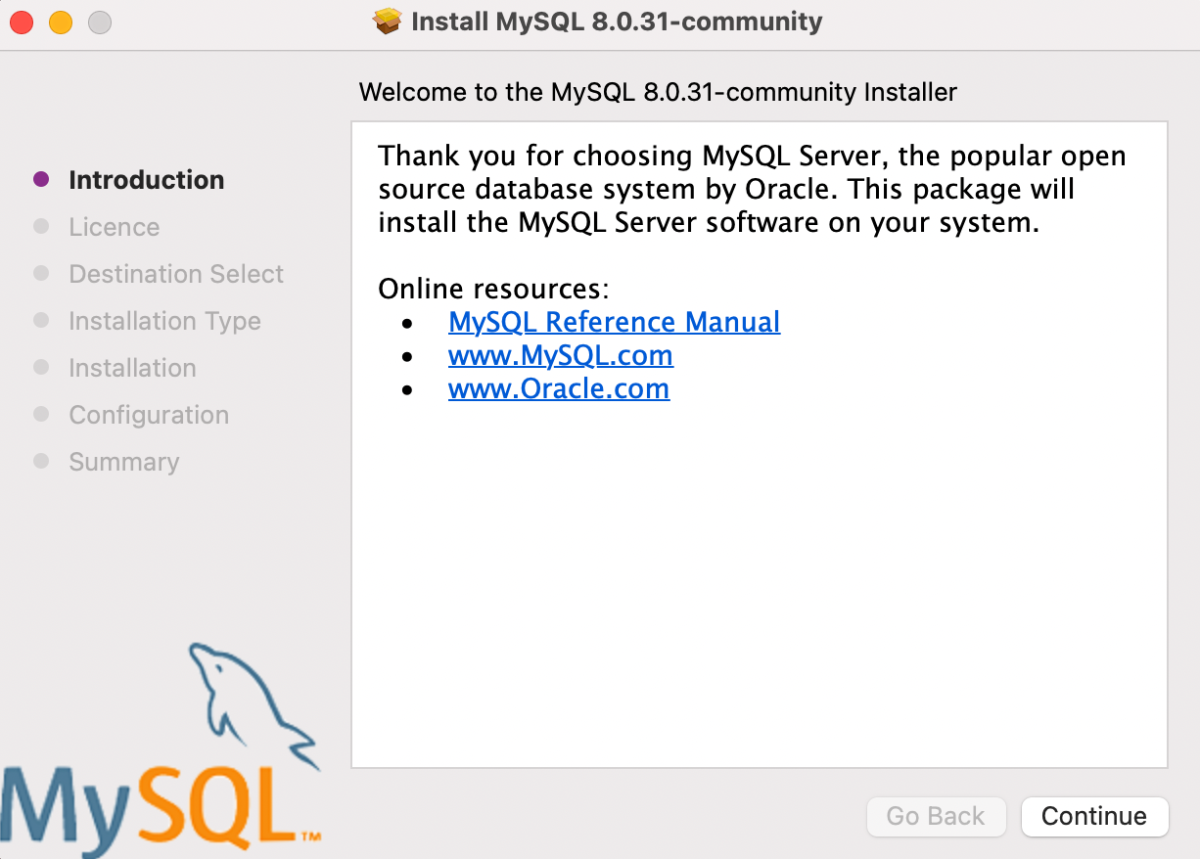
Click on continue.
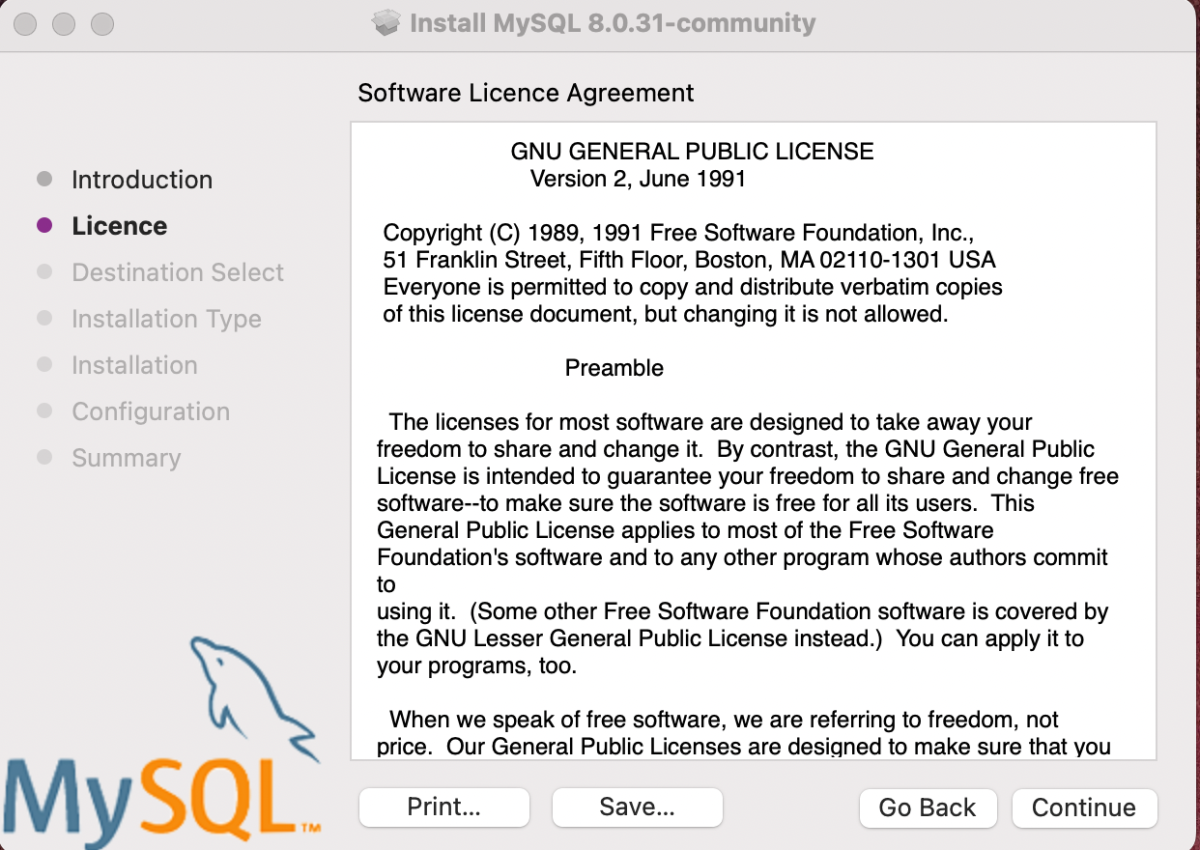
Step 5: Next step is the license, click on continue after reading the licensing:
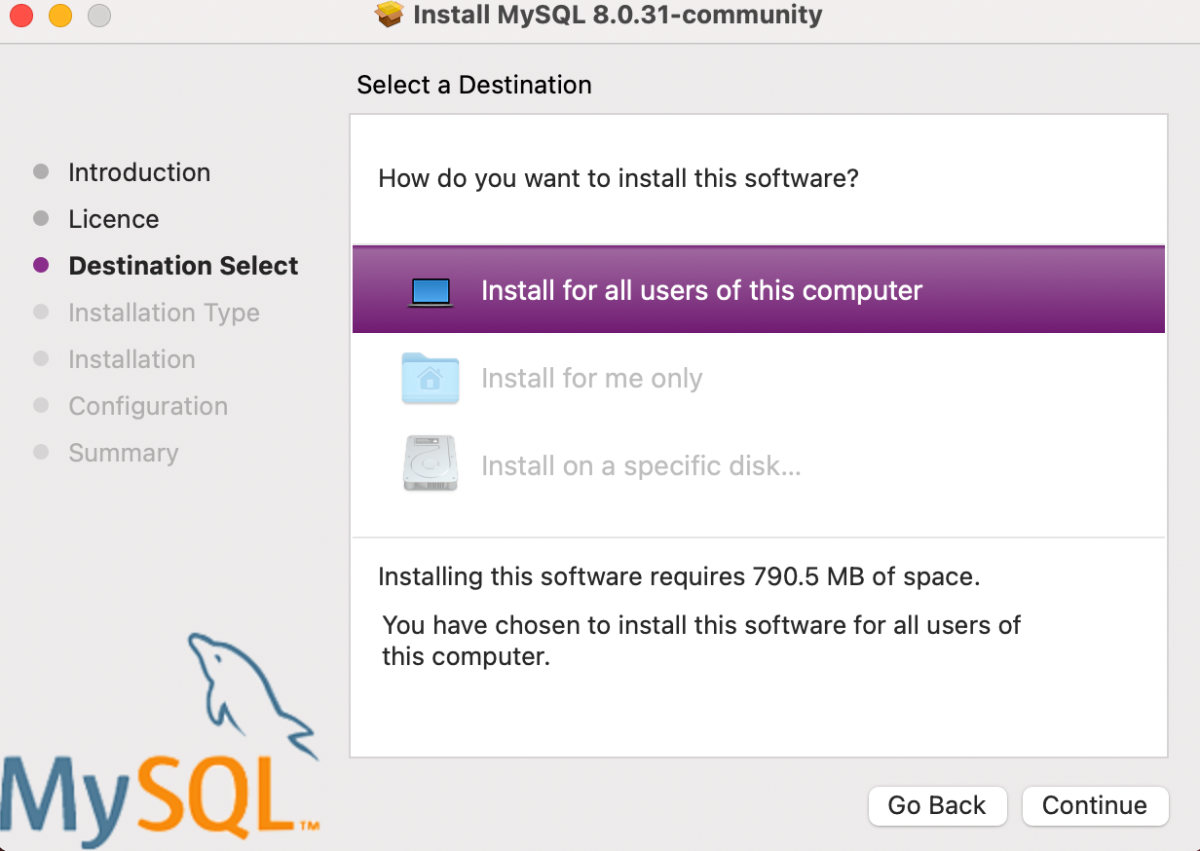
Step 6: The next step is to select the destination, you can either install MySQL for all the users or for yourself or you can also choose a specific disk where you want to install MySQL. We will go with the option of “Install for all users of this computer”, as shown in the below image. Click on continue after selecting your preference:
Step 7: The next step is to select the location, you can let it remain as the default selection which is “Macintosh Hard Drive”. You can also change the installation location, but remember then you’ll have to change the MySQL setting according to the installation location.
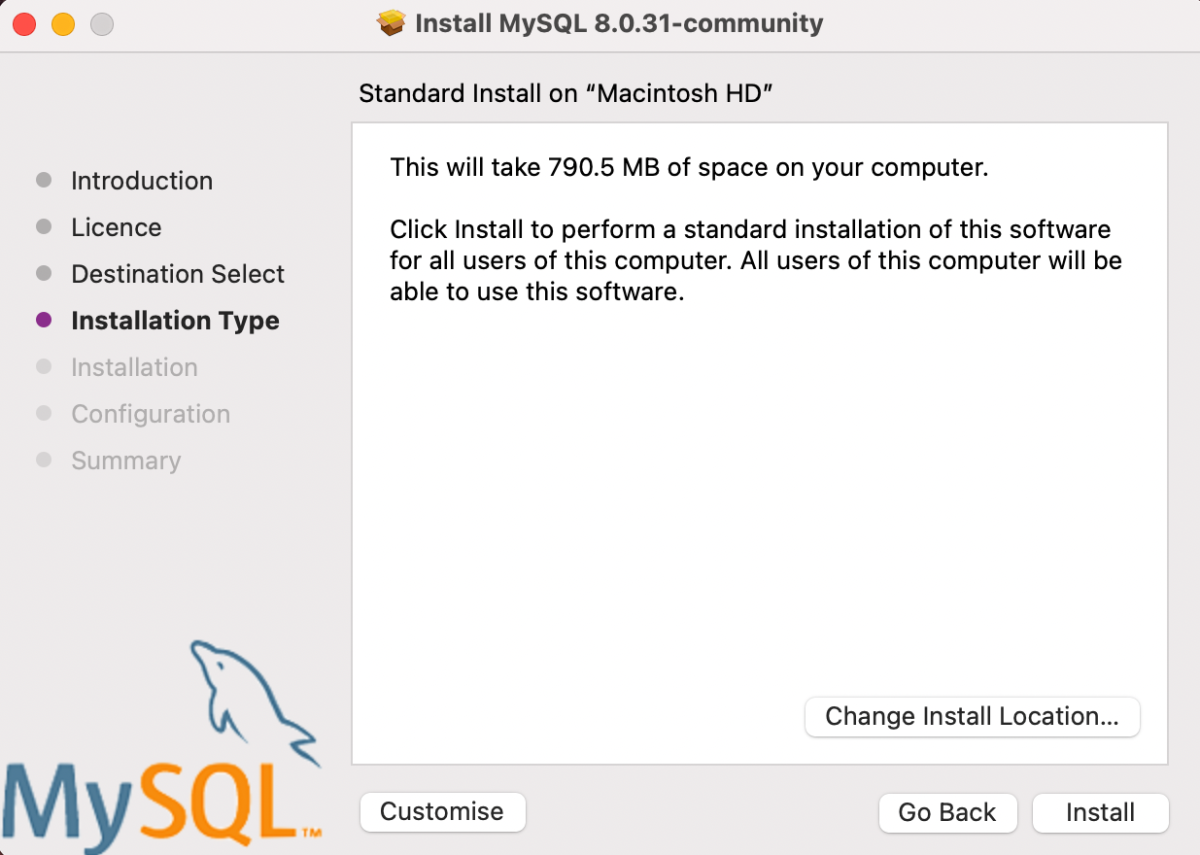
The installation will start when you’ll click on the install button, after the installation is successful click on continue.
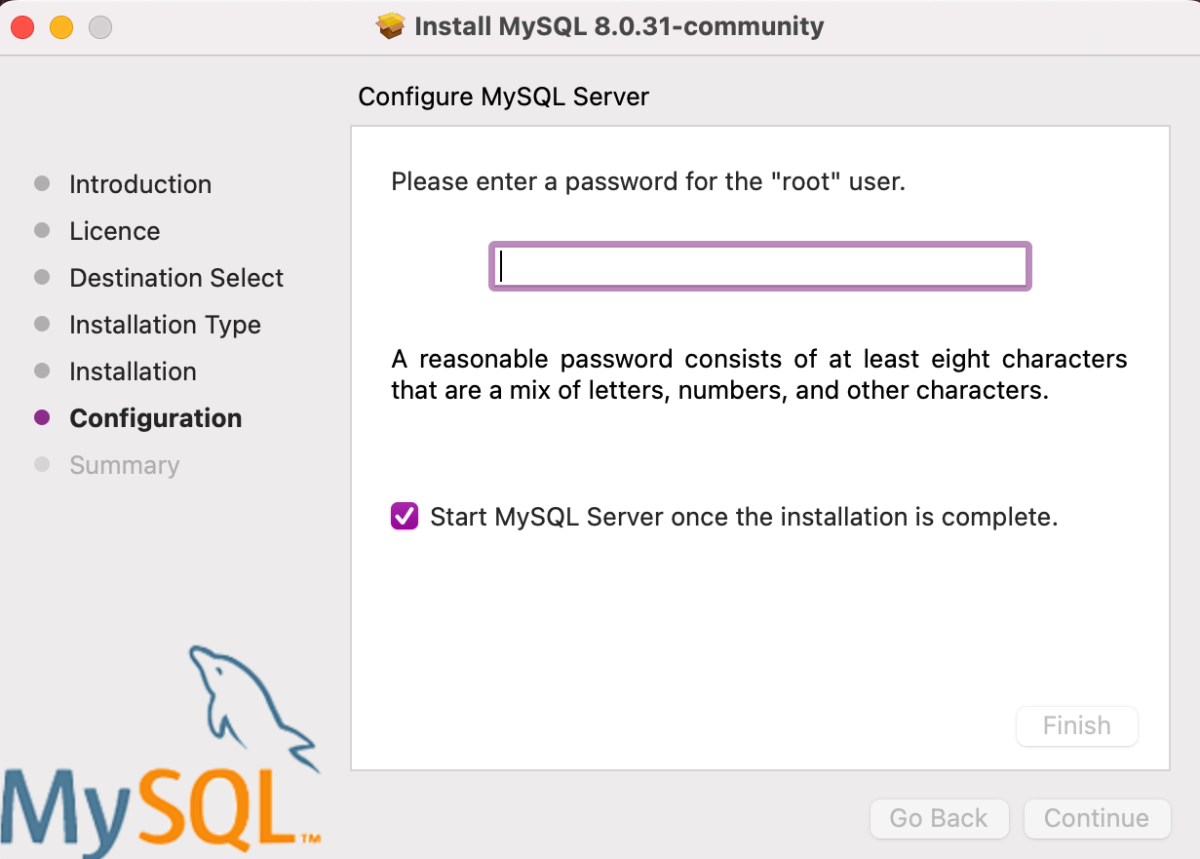
Step 8: The next step is to set the password, you can set the password using the universally accepted password norms. Keep in mind, this password will always be asked by MySQL whenever you’ll try to connect to the server. Click on continue, after setting the password.
This is how you install MySQL on macOS, the last step is to see the summary and you can close the installer. Later you can connect to MySQL and create your first database.
Conclusion
In this tutorial, we learned how to install MySQL on macOS. You can use MySQL to create relational databases and manipulate the tables and databases later. MySQL also provides you with multi-user functionality. This tutorial was created for you to get started with MySQL on macOS.
See Also: Official Documentation