In this tutorial, we will learn how to create tables in the MySQL database server from the Nodejs application.
Connecting to MySQL database server
First of all, we connect our Nodejs application to the MySQL database server. For that, the code given below will set up the connection.
var mysql = require(‘mysql’); var connection = mysql.createConnection({ host: ‘localhost’, user: ‘root’, password: ‘*****’, database: ‘app’ }); connection.connect(function(err) { if (err) throw err; console.log(“Connected!”); var sql = “CREATE TABLE info (Id INT, Name VARCHAR(255))”; connection.query(sql, function (err, result) { if (err) throw err; console.log(“Table created”); }); });Here we have first connected to the MySQL database server and then created a table named info in the database named app.
The query() method here is used to execute an SQL statement. It accepts an SQL statement and a callback. The callback function has three parameters namely-
- Error – This stores the details of an error if any error occurs.
- Results – This contains the results of the query.
- Fields – This contains the results fields information if present there.
Executing the program
Now we have connected to the MySQL database server from the Nodejs application and also written the query for creating the table, so we are left with executing the query. For this, go to the command prompt and navigate to the location where the javascript file for creating tables is stored. After that run this command –
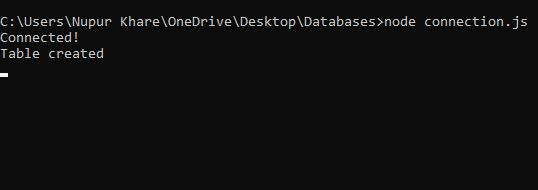
node connection.jsCode language: SQL (Structured Query Language) (sql)Output-

Here, connection.js is the name of the javascript file. After this check-in the app database whether the table is created or not.

Finally, the info table is created.
Conclusion
In this tutorial, we studied how to create a table in the MySQL database server from the Nodejs application.
